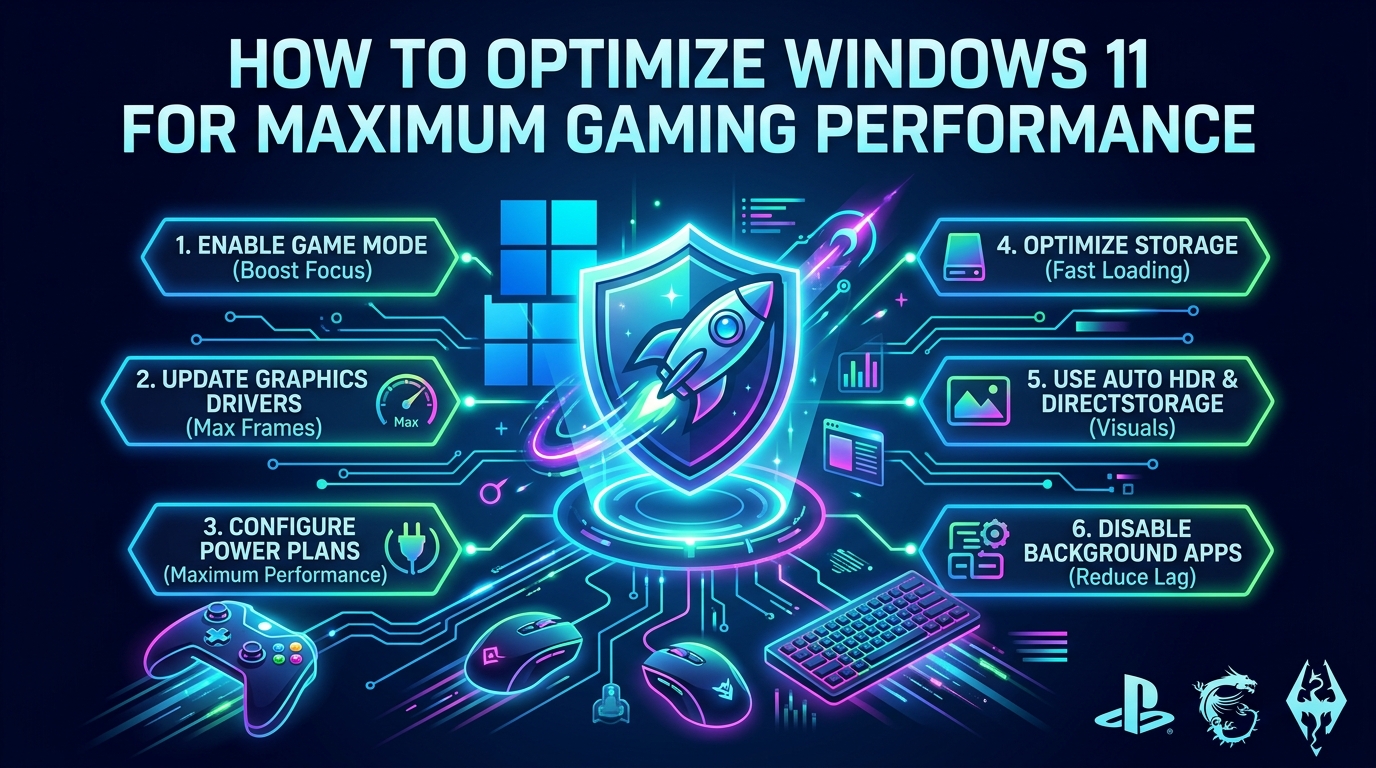
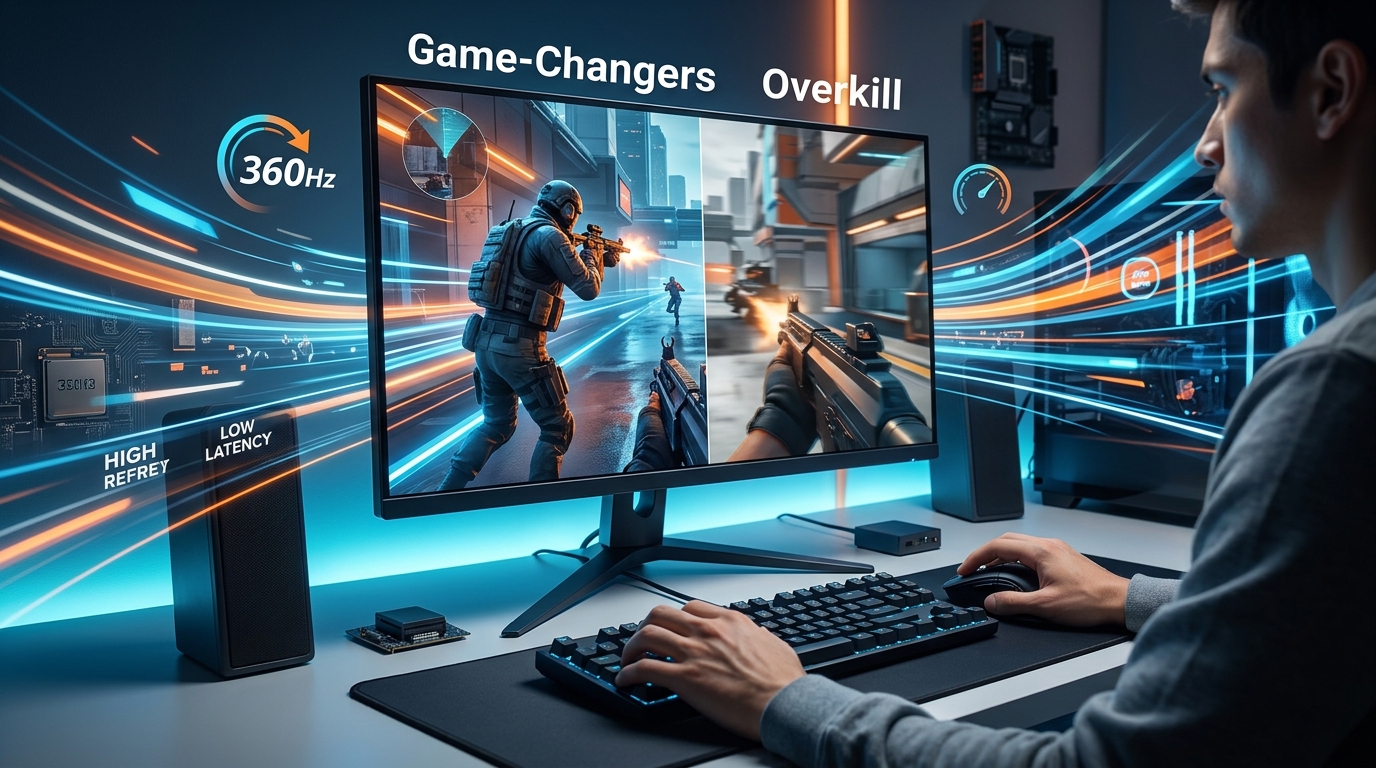
How to Optimize Windows 11 for Maximum Gaming Performance
Your game stutters at the worst possible moment. The enemy team rushes in, and your screen freezes for half a second. You die. Again.
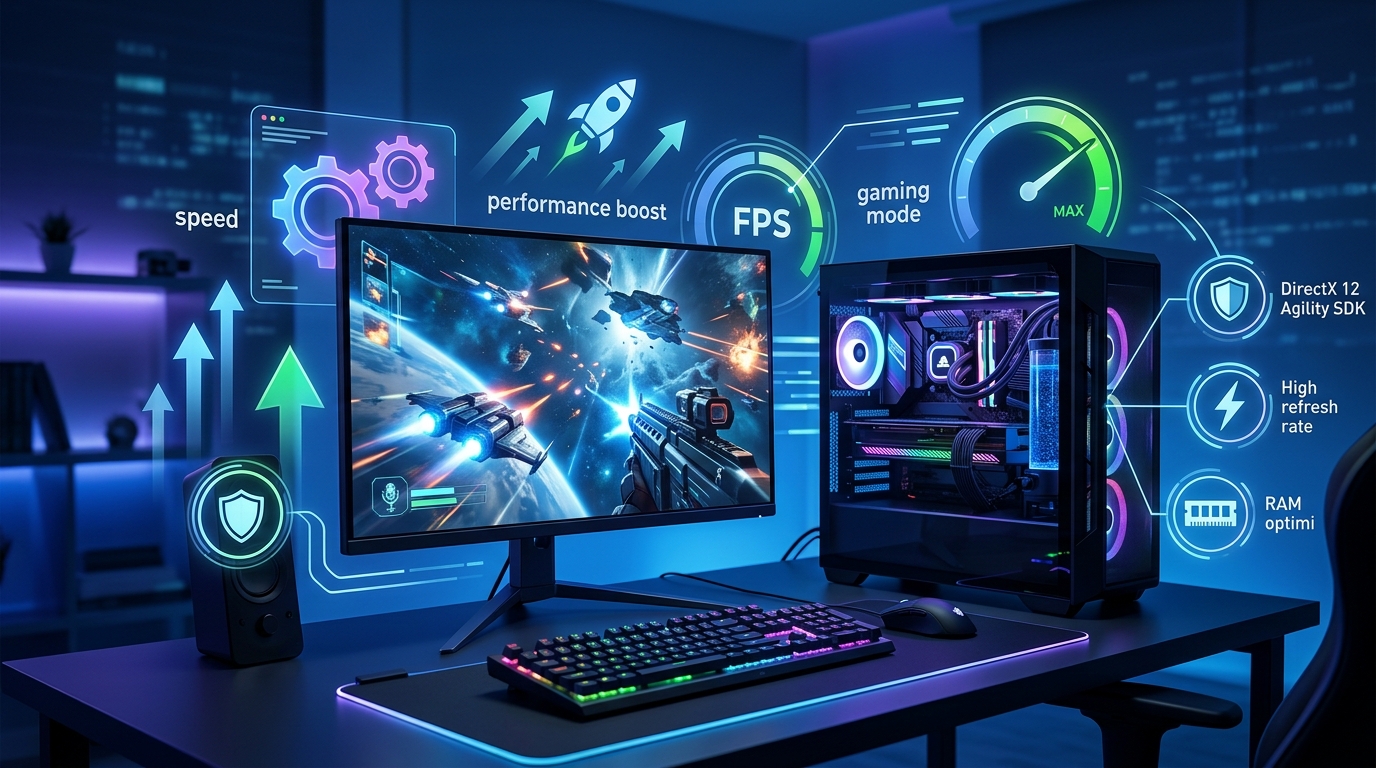
Sound familiar? Windows 11 comes packed with features designed for productivity, but many of them actively hurt gaming performance. Background processes eat your CPU. Visual effects steal precious GPU cycles. Windows Update decides to download files mid-match.
The good news? You can optimize Windows 11 for gaming without spending a dime on hardware upgrades. Most gamers see immediate FPS gains after applying these tweaks. Some report 20 to 30 percent performance improvements on the same machine.
Windows 11 ships with dozens of background services and visual effects that reduce gaming performance. By disabling unnecessary features, adjusting power settings, updating drivers, and configuring Game Mode properly, you can boost FPS by 15 to 30 percent without buying new hardware. The changes take 30 minutes and work on both budget and high-end systems.
Disable unnecessary visual effects and animations
Windows 11 loves transparency, shadows, and smooth animations. They look nice. They also consume GPU resources that should go to your game.
Open Settings and navigate to System, then Display. Scroll down and click Graphics. Set your games to “High performance” mode. This tells Windows to prioritize GPU power for your titles instead of background apps.
Next, type “performance” into the Windows search bar and select “Adjust the appearance and performance of Windows.” You’ll see a long list of visual effects. Select “Adjust for best performance” to disable everything at once. If that makes Windows look too bare, switch to “Custom” and keep only these:
- Show thumbnails instead of icons
- Smooth edges of screen fonts
- Show window contents while dragging
Everything else is cosmetic overhead. Turn it off.
The taskbar also includes animations that serve no purpose during gaming. Right-click the taskbar, select Taskbar settings, and disable “Show badges on taskbar apps” and “Automatically hide the taskbar.” Fewer distractions mean better focus.
Adjust power settings for maximum performance
Windows 11 defaults to “Balanced” power mode. That’s fine for browsing and office work. For gaming, it throttles your CPU and GPU at the worst times.
Press Windows + X and select Power Options. Choose “High performance” if available. If you don’t see that option, click “Additional power settings” and enable it from the legacy control panel.
Still not there? Open Command Prompt as administrator and type:
powercfg -duplicatescheme e9a42b02-d5df-448d-aa00-03f14749eb61
This creates the High Performance plan. Select it immediately.
Now click “Change plan settings” next to High Performance, then “Change advanced power settings.” Expand these categories and set them as follows:
- Processor power management: Set minimum and maximum processor state to 100 percent
- PCI Express: Set Link State Power Management to Off
- Hard disk: Set turn off hard disk after to Never
These settings prevent Windows from downclocking your hardware during intense gaming moments. Your electricity bill might increase slightly, but your FPS will thank you.
Update graphics drivers the right way
Outdated drivers cause stuttering, crashes, and poor frame pacing. Windows Update doesn’t always grab the latest gaming-optimized versions.
For NVIDIA cards, download GeForce Experience or visit the NVIDIA driver page directly. Select your GPU model and download the Game Ready driver, not the Studio driver. Game Ready versions prioritize performance and compatibility with new titles.
AMD users should grab Adrenalin drivers from AMD’s website. Intel Arc owners need to check Intel’s driver page regularly, as Arc optimization improves with each release.
After downloading, do a clean install. NVIDIA users can check “Perform a clean installation” during setup. AMD users should select “Factory Reset” in the installer. This removes old driver remnants that sometimes conflict with new versions.
Restart your PC after installation. Then open your GPU control panel (NVIDIA Control Panel or AMD Software) and set these options:
- Power management mode: Prefer maximum performance
- Texture filtering quality: Performance
- Vertical sync: Off (unless you experience screen tearing)
- Low latency mode: On or Ultra (NVIDIA only)
Configure Game Mode and Xbox Game Bar properly
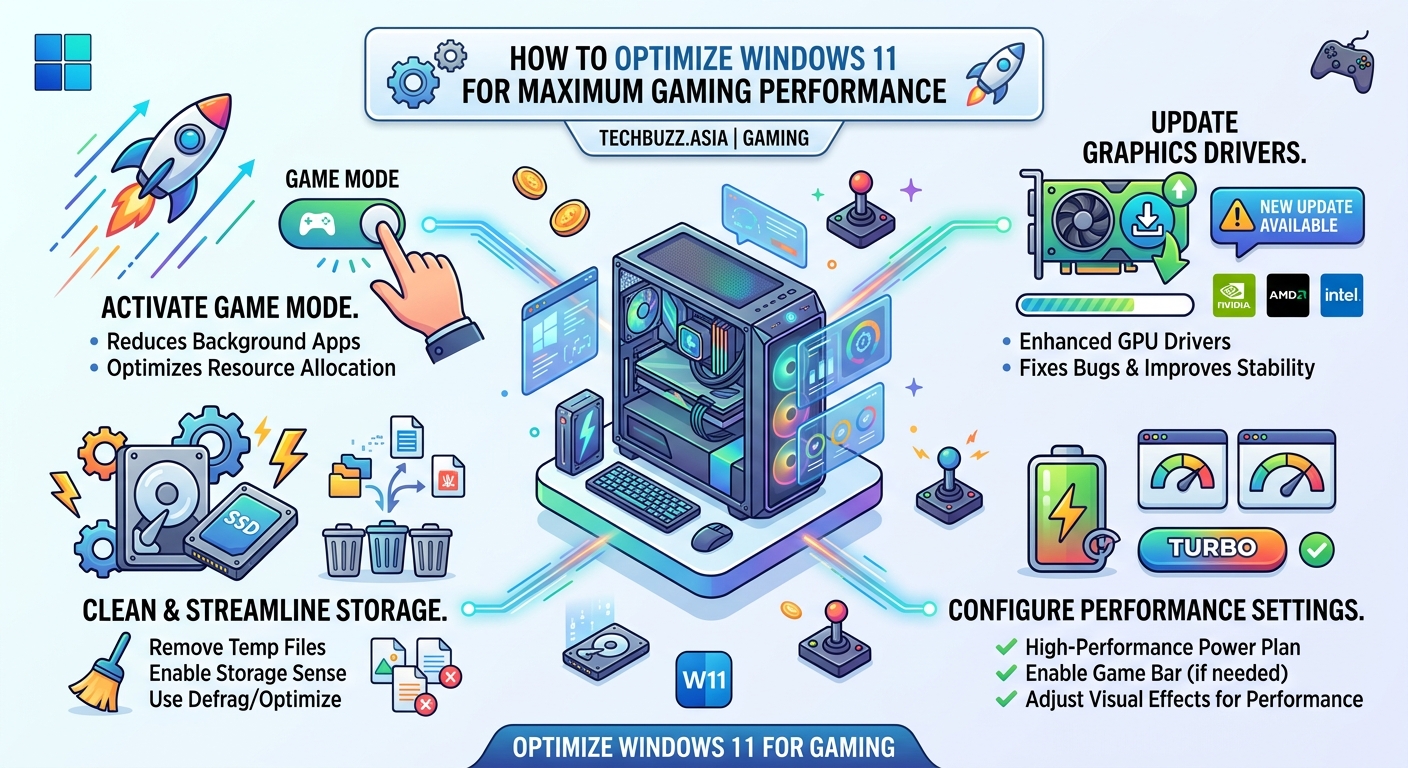
Game Mode sounds helpful. In practice, it causes more problems than it solves for many users. Windows tries to allocate resources intelligently but often makes wrong decisions.
Open Settings, go to Gaming, then Game Mode. Try running your games with Game Mode ON first. If you notice stuttering or frame drops, turn it OFF. Test both ways. Some systems perform better with it disabled.
The Xbox Game Bar is different. It adds overlay features like screenshots and performance monitoring, but it also runs background processes. If you don’t use it, disable it completely.
Go to Settings, Gaming, Xbox Game Bar. Toggle “Enable Xbox Game Bar” to OFF. This frees up system resources and eliminates potential conflicts with third-party overlays like Discord or Steam.
If you want performance monitoring, use MSI Afterburner or the built-in overlays in Steam and GeForce Experience instead. They’re lighter and more reliable.
Stop background apps and services
Windows 11 runs dozens of apps and services you never use. Each one consumes CPU cycles, RAM, and disk bandwidth.
Open Task Manager (Ctrl + Shift + Esc) and click the Startup tab. Disable everything except your antivirus and essential hardware utilities. You don’t need Spotify, OneDrive, or Adobe Creative Cloud launching at boot.
Next, tackle background apps. Go to Settings, Apps, then Startup. Disable any app you don’t need running constantly. Be ruthless. You can always launch apps manually when needed.
For deeper optimization, disable unnecessary Windows services. Press Windows + R, type “services.msc” and hit Enter. Find these services and set them to “Disabled”:
- Windows Search (if you don’t use the search bar often)
- Superfetch/SysMain (on systems with SSDs)
- Print Spooler (if you don’t print regularly)
- Bluetooth Support Service (if you don’t use Bluetooth)
Expert tip: Never disable services you don’t recognize without researching them first. Disabling critical system services can make Windows unstable or prevent it from booting.
Optimize storage and reduce disk usage
Games load faster from SSDs, but Windows often bogs down storage with background tasks. Disable these features to keep your drive responsive during gaming.
Open Settings, System, Storage. Toggle off “Storage Sense” or configure it to run only when disk space is low. Storage Sense scans and cleans files in the background, causing stuttering in open-world games that stream assets constantly.
Next, disable Windows Search indexing for your game drive. Open File Explorer, right-click your game drive (usually D: or E:), select Properties, and uncheck “Allow files on this drive to have contents indexed.” Click Apply and wait for the process to complete.
If you’re still using a hard drive for games, defragment it monthly. SSDs don’t need defragmentation and doing so can reduce their lifespan. Windows usually handles this automatically, but you can verify by typing “defragment” in the search bar and checking the optimization schedule.
Adjust network settings for lower latency
High FPS means nothing if your network latency spikes during online matches. Windows 11 includes features that prioritize background downloads over gaming traffic.
Disable Windows Update during gaming hours. Open Settings, Windows Update, Advanced options, then set Active hours to match your gaming schedule. Windows won’t restart or download updates during this window.
For wired connections, disable “Large Send Offload” and “Receive Side Scaling” in your network adapter settings. Open Device Manager, expand Network adapters, right-click your Ethernet adapter, and select Properties. Click the Advanced tab and disable these features. They add latency in exchange for slightly higher throughput.
If you’re on Wi-Fi, consider switching to a wired connection. Even the best Wi-Fi router adds 5 to 15ms of latency compared to Ethernet. That’s the difference between landing a headshot and missing it in competitive shooters.
Some routers include Quality of Service (QoS) settings that prioritize gaming traffic. Check out 7 hidden features in your router that could double your Wi-Fi speed for detailed setup instructions.
Fine-tune in-game settings for balanced performance
Windows optimization only takes you halfway. Your in-game settings determine the rest.
Start by setting your resolution to match your monitor’s native resolution. Running games at lower resolutions makes them blurry and doesn’t always improve FPS as much as you’d expect.
Disable or lower these settings first, as they have the biggest performance impact:
- Ray tracing (unless you have an RTX 4070 or better)
- Anti-aliasing (use TAA or FXAA instead of MSAA)
- Ambient occlusion
- Motion blur (also makes aiming harder)
- Depth of field
- Volumetric fog/lighting
Medium textures look nearly identical to Ultra on most systems but use half the VRAM. Shadow quality can drop to Medium or Low without major visual loss. Experiment with these settings and find the balance that maintains 60 FPS or higher.
If you’re curious whether ray tracing is worth enabling on your system, read ray tracing explained: is it actually worth the performance hit? for a detailed breakdown.
Monitor temperatures and prevent thermal throttling
Your PC might have the power to run games smoothly, but thermal throttling can cut performance by 30 percent or more when components overheat.
Download HWMonitor or MSI Afterburner to track temperatures while gaming. Your CPU should stay below 85°C and your GPU below 80°C under load. If temperatures exceed these limits, your hardware automatically reduces clock speeds to prevent damage.
Clean dust from your PC every three months. Dust buildup blocks airflow and raises temperatures dramatically. Use compressed air to blow out dust from fans, heatsinks, and vents.
Consider these cooling improvements if temperatures remain high:
- Reapply thermal paste on your CPU (if it’s more than two years old)
- Add case fans to improve airflow
- Adjust fan curves in BIOS or GPU software to prioritize cooling over silence
- Remove the side panel temporarily to test if airflow is the issue
Overheating causes more than just FPS drops. It can also shorten the lifespan of your components. Learn more in why your gaming PC is overheating and how to fix it before it’s too late.
Common mistakes that hurt performance
Many gamers make these errors while trying to optimize Windows 11 for gaming. Avoid them.
| Mistake | Why It Hurts | Better Approach |
|---|---|---|
| Installing “game booster” apps | They often disable important services and add their own overhead | Use manual optimization methods instead |
| Overclocking without proper cooling | Causes thermal throttling and instability | Improve cooling first, then overclock conservatively |
| Disabling Windows Defender | Malware can tank performance worse than antivirus | Keep Defender enabled and add gaming folders to exclusions |
| Running games from external drives | USB bandwidth limits loading speeds | Install games on internal SSDs when possible |
| Keeping browser open during gaming | Chrome and Edge consume 2GB+ of RAM easily | Close browsers before launching games |
Use Windows 11’s hidden gaming features
Windows 11 includes several lesser-known features that can improve your gaming experience.
DirectStorage allows games to load assets directly to your GPU, bypassing the CPU. This only works with NVMe SSDs and DirectStorage-compatible games, but when supported, it dramatically reduces loading times. Enable it in Settings, Gaming, Game Mode.
Auto HDR automatically adds HDR effects to older games that don’t support it natively. If you have an HDR monitor, toggle this on in Settings, Display, HDR. The effect varies by game, but many titles look significantly better.
Hardware-accelerated GPU scheduling reduces latency by letting your GPU manage its own memory. Enable it in Settings, Display, Graphics, “Change default graphics settings.” Toggle on “Hardware-accelerated GPU scheduling” and restart your PC.
For more Windows performance tweaks beyond gaming, check out how to speed up your Windows 11 PC without buying new hardware.
Test and measure your improvements
After applying these optimizations, measure the actual performance gains. Install MSI Afterburner with RivaTuner Statistics Server to display FPS, CPU usage, GPU usage, and temperatures in real time.
Run your favorite game and note the average FPS in a demanding area. Then apply one optimization at a time and retest. This helps you identify which changes provide the biggest benefit for your specific hardware.
Some changes provide instant results. Others require a restart to take effect. Be patient and methodical. Keep a notepad with before and after FPS numbers for reference.
If a specific change reduces performance or causes instability, revert it immediately. Not every optimization works on every system. Your hardware, drivers, and game selection all affect which tweaks provide the best results.
Maintaining peak performance over time
Optimization isn’t a one-time task. Windows updates, driver updates, and new game releases constantly change performance characteristics.
Set a monthly reminder to check for graphics driver updates. NVIDIA and AMD release new drivers every few weeks, often with performance improvements for recently released games.
Run Disk Cleanup monthly to remove temporary files and old Windows Update files. Type “disk cleanup” in the search bar, select your system drive, and check all boxes except “Downloads.” This can free up 10GB or more.
Monitor your startup programs every few months. New software often adds itself to startup without asking. Keep that list lean.
Finally, consider a fresh Windows install once a year if you install and uninstall many programs. Over time, leftover files and registry entries accumulate and slow down your system. A clean install takes a few hours but restores your PC to like-new performance.
Getting the most from your gaming setup
Optimizing Windows 11 for gaming transforms your experience without requiring expensive hardware upgrades. These tweaks work on budget builds and high-end rigs alike.
Start with the biggest performance gains first. Update your drivers, adjust power settings, and disable unnecessary visual effects. Those three changes alone typically boost FPS by 10 to 20 percent.
Then move to the more detailed optimizations. Every system is different. What works perfectly on one PC might have no effect on another. Test methodically and keep what works for you.
Your games will run smoother. Loading times will drop. Input lag will decrease. And you’ll finally stop blaming your hardware for performance problems that Windows was causing all along.

Post Comment