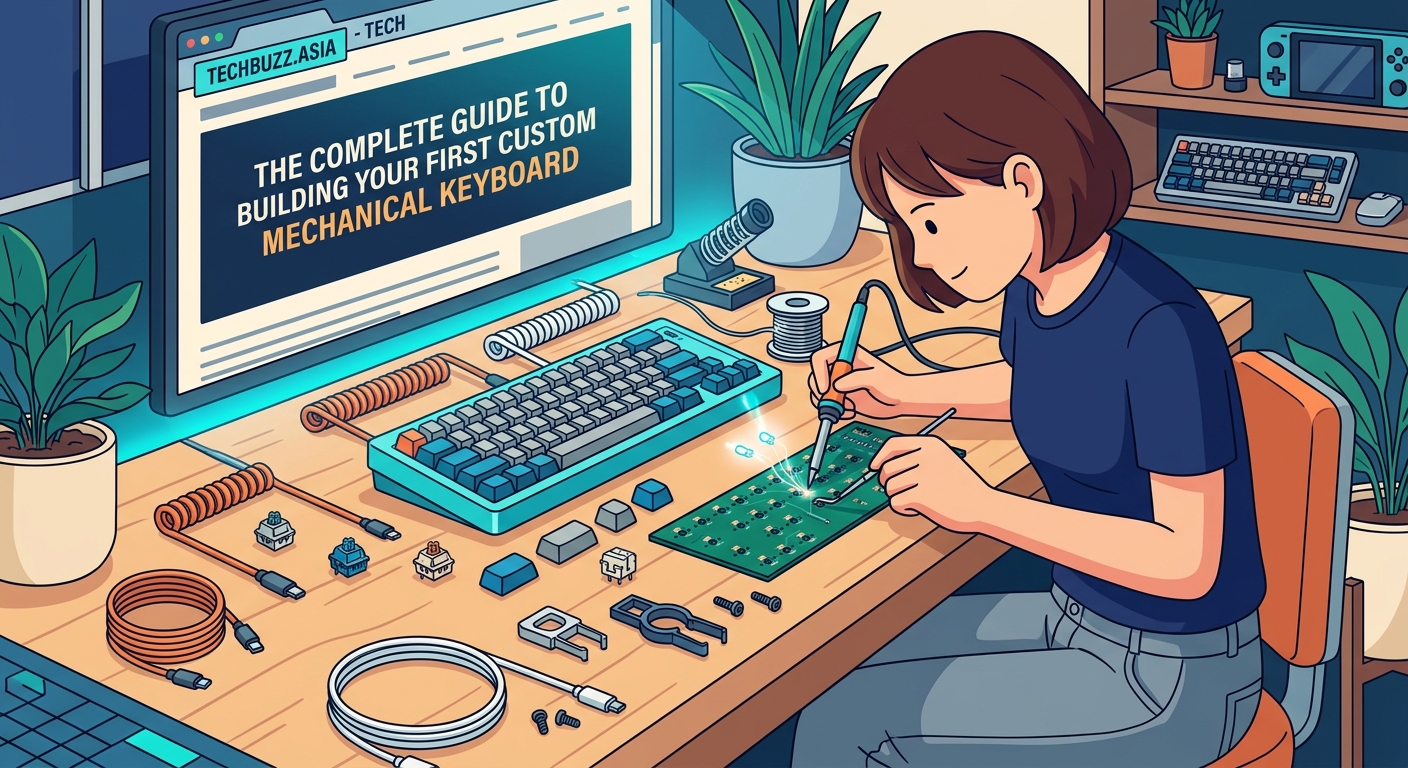
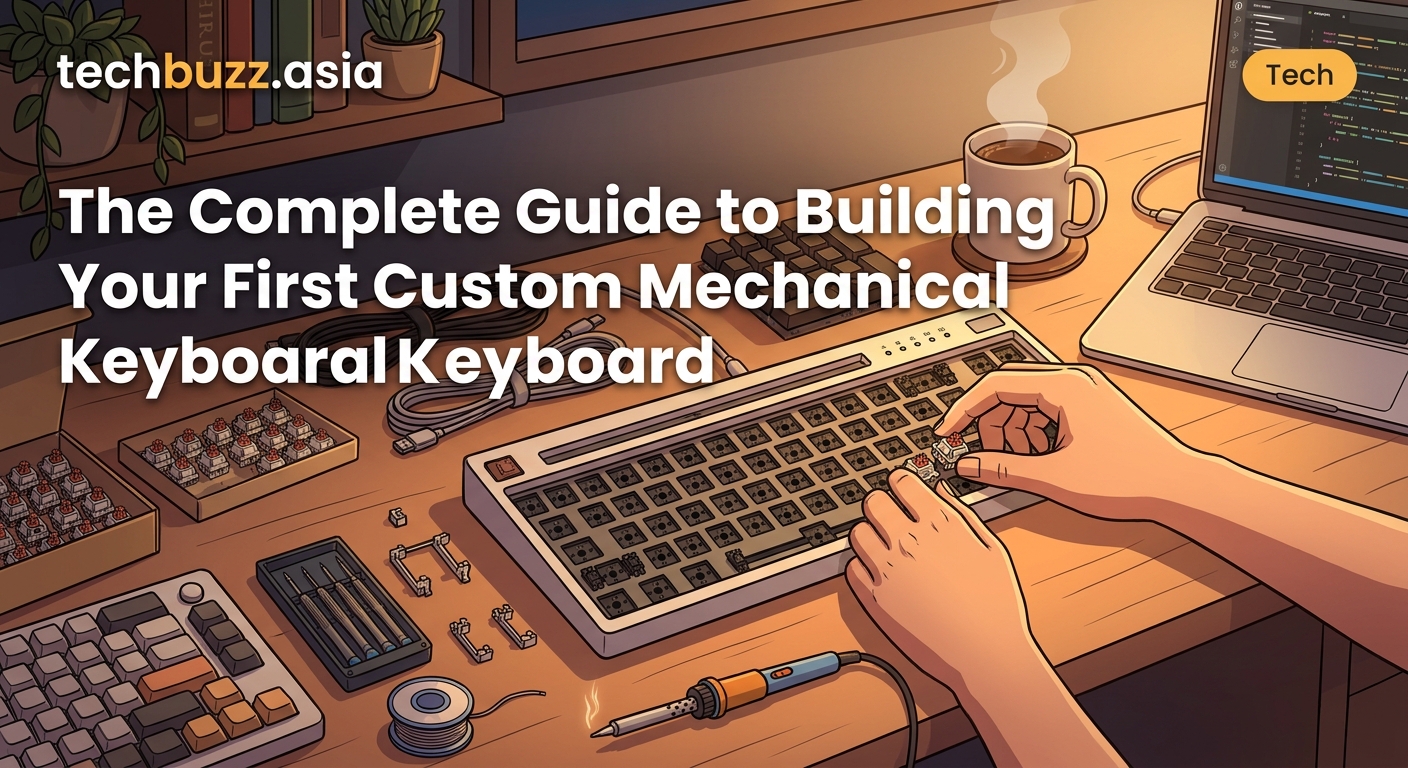
The Complete Guide to Building Your First Custom Mechanical Keyboard
Building your first custom mechanical keyboard feels like assembling a tech puzzle where every piece reflects your personal style. You get to choose the switches that match your typing rhythm, the keycaps that show off your aesthetic, and the case that sits perfectly on your desk. The process transforms a daily tool into something uniquely yours.
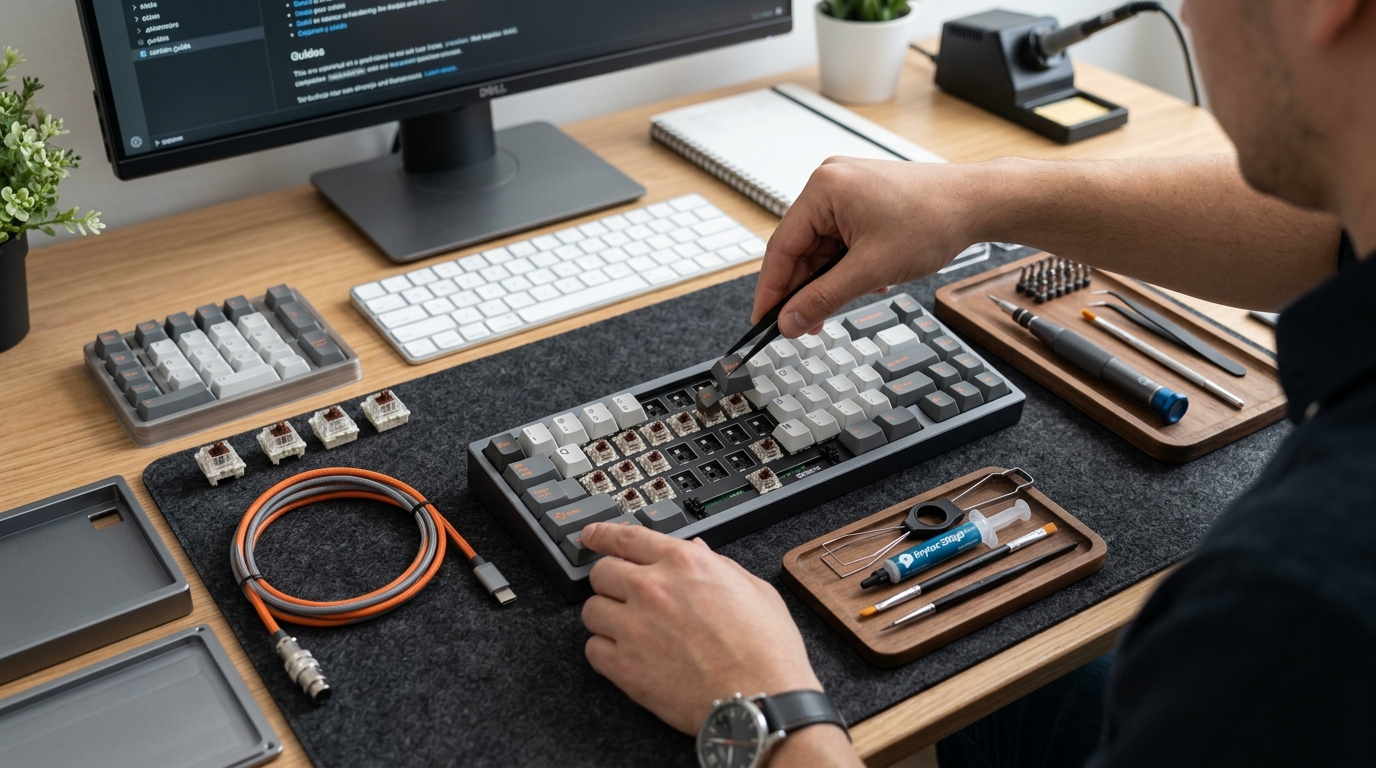
Building a custom mechanical keyboard requires five core components: a case, PCB, switches, stabilizers, and keycaps. The assembly process involves installing stabilizers, mounting switches, connecting the PCB, and adding keycaps. Expect to spend 2 to 4 hours on your first build, with budgets ranging from $150 for entry-level boards to $500+ for premium materials. Most builds require no soldering if you choose a hot-swap PCB.
Understanding the Essential Components
Every custom mechanical keyboard starts with five fundamental parts. Each component plays a specific role in how your keyboard looks, sounds, and feels.
The case forms the foundation of your build. It houses all other components and determines the overall weight and stability. Plastic cases cost between $30 and $60, while aluminum cases range from $80 to $200. Some cases include built-in sound dampening foam.
The PCB (printed circuit board) is the brain of your keyboard. It registers your keystrokes and sends signals to your computer. Hot-swap PCBs let you change switches without soldering, making them perfect for beginners. Most PCBs support either 60%, 65%, 75%, or full-size layouts.
Switches create the actual typing experience. Linear switches move smoothly without tactile feedback. Tactile switches have a noticeable bump. Clicky switches produce an audible click sound. Popular beginner switches include Gateron Yellows (linear), Boba U4T (tactile), and Kailh Box White (clicky).
Stabilizers keep larger keys like the spacebar and shift keys from wobbling. They attach to the PCB before switches get installed. Screw-in stabilizers offer better stability than clip-in versions.
Keycaps sit on top of switches and determine what you see and touch. They come in different profiles (OEM, Cherry, SA, DSA) and materials (ABS, PBT). A full keycap set typically costs between $25 and $150.
Choosing Your First Keyboard Layout
Layout selection shapes your entire build. The size you choose affects compatibility with cases, PCBs, and keycap sets.
A 60% layout removes the function row, arrow keys, and number pad. It measures roughly 11.5 inches wide and saves significant desk space. This layout requires using function layers to access missing keys. Popular among minimalists and gamers.
The 65% layout adds dedicated arrow keys and a few navigation keys compared to 60%. It strikes a balance between compact size and functionality. Most users find this layout requires less adjustment than 60%.
A 75% layout includes the function row while maintaining a compact footprint. It measures about 12.5 inches wide. This layout feels more familiar to users coming from standard keyboards.
Full-size (100%) layouts include everything: number pad, function row, and all navigation keys. They require larger cases and more switches (around 104 instead of 61-68). Better suited for users who frequently input numbers.
Choose a layout based on your actual typing patterns, not trends. Track which keys you use during a typical workday before committing to a compact layout. Missing keys matter more than you think.
Gathering Your Tools and Materials
Most builds require minimal tools. You probably already own several items needed for assembly.
Essential tools include:
- Keycap puller (often included with keycap sets)
- Switch puller for hot-swap boards
- Small Phillips screwdriver
- Tweezers for precise stabilizer work
- Lubricant (Krytox 205g0 for switches, dielectric grease for stabilizer wires)
- Small brush for applying lubricant
Optional but helpful tools:
- Switch opener if you plan to modify switches
- Stabilizer pads to reduce noise
- Foam sheets for case dampening
- Multimeter for troubleshooting PCB issues
Purchase components from established vendors. Mechanical keyboard specialty stores offer better quality control than general electronics retailers. Many vendors sell complete kits that include compatible components.
Budget around $150 to $250 for your first build. This covers a decent plastic case, hot-swap PCB, 70 switches, basic stabilizers, and entry-level keycaps. Premium builds easily exceed $400 with aluminum cases and custom keycap sets.
Preparing Your Stabilizers
Stabilizer preparation takes the most time but dramatically improves typing feel. Skip this step and every spacebar press will rattle.
- Disassemble each stabilizer by removing the wire from the housing.
- Clean all parts with isopropyl alcohol to remove factory lubricant.
- Apply dielectric grease to the wire ends where they contact the housing.
- Brush a thin layer of Krytox 205g0 inside the stabilizer housing.
- Reassemble the stabilizer and test for smooth movement.
- Install stabilizers on the PCB before adding switches.
Screw-in stabilizers require screwing into the PCB from the bottom. Align the stabilizer posts with the PCB holes and tighten screws until snug. Over-tightening can crack the PCB.
Band-aid modding involves placing small fabric bandages where stabilizers contact the PCB. This reduces the hollow sound when bottoming out keys. Cut bandages to size and stick them to the PCB before installing stabilizers.
Test each stabilizer by pressing down on the housing. It should return smoothly without sticking or rattling. Fix any issues now before switches make stabilizers inaccessible.
Installing Switches on Your PCB
Switch installation goes fast on hot-swap boards. Each switch snaps into place without soldering.
Align the switch pins with the PCB socket. Switches have two metal pins on the bottom: one round, one flat. These pins must match the socket orientation. Forcing misaligned switches damages the PCB.
Press firmly until the switch clicks into the socket. The switch should sit flush against the PCB. Gaps indicate improper seating.
Install switches around the perimeter first. This creates a frame that helps align the case later. Then fill in the remaining positions.
Check each switch after installation. Press the switch stem down and release. It should spring back immediately. Sticky or unresponsive switches indicate bent pins or poor socket contact.
Some builders prefer to modify switches before installation. This includes:
- Lubing the switch stem and spring
- Swapping springs for different actuation weights
- Filming switches to reduce housing wobble
These modifications improve sound and feel but add hours to your build time. Consider building your first board stock, then modifying later once you understand baseline performance.
Assembling the Case and PCB
Case assembly varies by design. Most cases use a sandwich mount or tray mount system.
Sandwich mount cases stack layers: bottom case, PCB, plate, top case. Screws pass through all layers to hold everything together. This method provides a firm typing feel.
Tray mount cases have posts or standoffs that support the PCB. The PCB rests on these supports and screws secure it in place. This creates more flex and softer typing feel.
Before securing the PCB, add foam dampening if desired. Cut foam sheets to match your case interior. Place foam between the PCB and bottom case. This reduces hollow sounds and ping.
Route the USB cable through the case opening. Most cases have a specific channel or cutout for the cable. Connect the cable to the PCB port firmly.
Screw the case together gradually. Tighten screws in a star pattern rather than going around in order. This distributes pressure evenly and prevents warping. Tighten until snug but not forced.
Test the keyboard before adding keycaps. Plug it into your computer and use a key testing website. Press every switch to confirm proper registration. Fix any non-working keys now.
Installing and Adjusting Keycaps
Keycap installation completes the visual transformation. Each keycap has a specific position based on size and profile.
Start with the largest keys: spacebar, shift, enter, backspace. These use stabilizers and require careful alignment. Press the keycap straight down onto the switch stem until it clicks into place.
Install the remaining alphanumeric keys. Most keycap sets include labels or a layout diagram. Match keycaps to their designated positions.
Function keys and modifiers come next. Pay attention to profile height. Row 1 keys (numbers) sit lower than row 3 keys (home row).
Common keycap installation mistakes:
| Mistake | Result | Solution |
|---|---|---|
| Forcing keycaps at an angle | Bent switch stems | Press straight down with even pressure |
| Using wrong row profile | Uneven typing surface | Check keycap set diagram for correct rows |
| Missing stabilizer keycaps | Keycap pops off easily | Ensure wire ends sit in keycap stems |
| Reversed spacebar | Uncomfortable thumb angle | Flip spacebar so curved side faces you |
After installation, run your fingers across the keycaps. They should form smooth rows without height variations. Misaligned keycaps indicate incorrect row placement.
Some enthusiasts reverse certain keycaps for ergonomics. Flipping the spacebar creates a more natural thumb angle. This preference varies by person.
Testing and Troubleshooting Your Build
Systematic testing catches issues before they become frustrating. A methodical approach saves time.
Use an online keyboard tester to check every key. Press each key once and verify it registers on screen. Mark any non-responsive keys.
For keys that don’t work:
- Remove the keycap and check if the switch is fully seated
- Pull the switch and inspect the pins for bending
- Test the socket with a different switch
- Check the PCB for visible damage near the socket
Doubled keystrokes (one press registers twice) usually indicate:
- Dirty switch contacts
- Firmware issues
- Damaged PCB traces
Clean the switch first. If problems persist, try different switches in that position.
Stabilized keys that rattle need adjustment. Remove the keycap and check if the stabilizer wire is properly seated in both housings. Add more lubricant if the rattle persists.
USB connection issues often stem from loose cable connections. Unplug and firmly reconnect the cable. Try a different USB port or cable to isolate the problem.
Customizing Sound and Feel
Your keyboard’s acoustics depend on multiple factors. Small changes create noticeable differences.
Case foam reduces hollow sounds and high-pitched pings. Place thin foam sheets (2-4mm) between the PCB and case bottom. Neoprene and sorbothane work well.
Switch films are thin plastic sheets that reduce switch housing wobble. They create a deeper, more consistent sound. Installing films requires opening each switch.
Lubricating switches transforms the typing experience. Apply thin layers of Krytox 205g0 to switch stems, springs, and housing. This eliminates scratchiness and reduces noise. Expect to spend 2-3 hours lubing 70 switches.
Desk mats absorb vibrations and deepen the overall sound profile. A thick cloth or foam mat under your keyboard prevents desk resonance.
O-rings on keycaps shorten travel distance and soften bottom-out. They create a quieter typing experience but reduce tactile feedback. Many typists dislike the mushy feel.
Different typing techniques affect sound too. Bottoming out (pressing keys completely down) creates louder sounds than lighter typing. Practice can reduce typing volume without hardware changes.
Joining the Mechanical Keyboard Community
The mechanical keyboard community offers endless learning opportunities. Experienced builders share knowledge freely.
Reddit communities like r/MechanicalKeyboards showcase builds and answer questions. Browse the wiki for component recommendations and vendor lists. Post your completed build for feedback.
Discord servers provide real-time help. Many keyboard vendors run active Discord communities. You can ask specific questions and get responses within minutes.
GeekHack and Deskthority host detailed discussions about switches, keycaps, and group buys. These forums archive years of testing data and reviews.
YouTube channels demonstrate assembly techniques and review new products. Watching experienced builders work through challenges helps avoid common mistakes.
Local meetups let you test different switches and layouts before buying. Many cities have quarterly keyboard meetups. Trying boards in person reveals preferences that specs can’t capture.
Group buys offer access to limited-run keycap sets and cases. These pre-orders fund small production runs. Expect 6-12 month waits between ordering and delivery.
Maintaining Your Custom Keyboard
Regular maintenance keeps your keyboard performing well. Simple cleaning prevents most issues.
Dust accumulates between switches over time. Use compressed air monthly to blow out debris. Hold the keyboard at an angle so particles fall away from switches.
Remove and clean keycaps every few months. Soak them in warm water with mild dish soap. Scrub with a soft brush and air dry completely before reinstalling.
Lubrication degrades slowly. Switches may feel scratchy after a year of heavy use. Re-lubing restores smooth operation. Hot-swap boards make this process easier since you can remove switches without desoldering.
Stabilizers need attention too. Rattling that develops over time indicates dried lubricant. Remove affected keycaps, add fresh lubricant to stabilizer wires, and test for improvement.
Cable connections loosen from repeated plugging and unplugging. If your keyboard disconnects randomly, inspect the USB port for damage. Replace damaged cables promptly.
Store spare switches and keycaps properly. Keep them in sealed bags away from dust and moisture. Having extras lets you replace damaged components without waiting for new orders.
Your Keyboard, Your Rules
Building a custom mechanical keyboard gives you complete control over your typing experience. You chose every component based on your preferences, not what manufacturers decided for you. The skills you learned during this first build transfer directly to future projects.
Start typing on your new board and pay attention to what you like and what you’d change. Maybe the switches feel too heavy, or the keycaps don’t have enough texture. These observations guide your next build. Many enthusiasts own multiple boards, each optimized for different tasks or moods. Your first custom keyboard marks the beginning of a satisfying hobby that combines technical skill with personal expression.


Post Comment