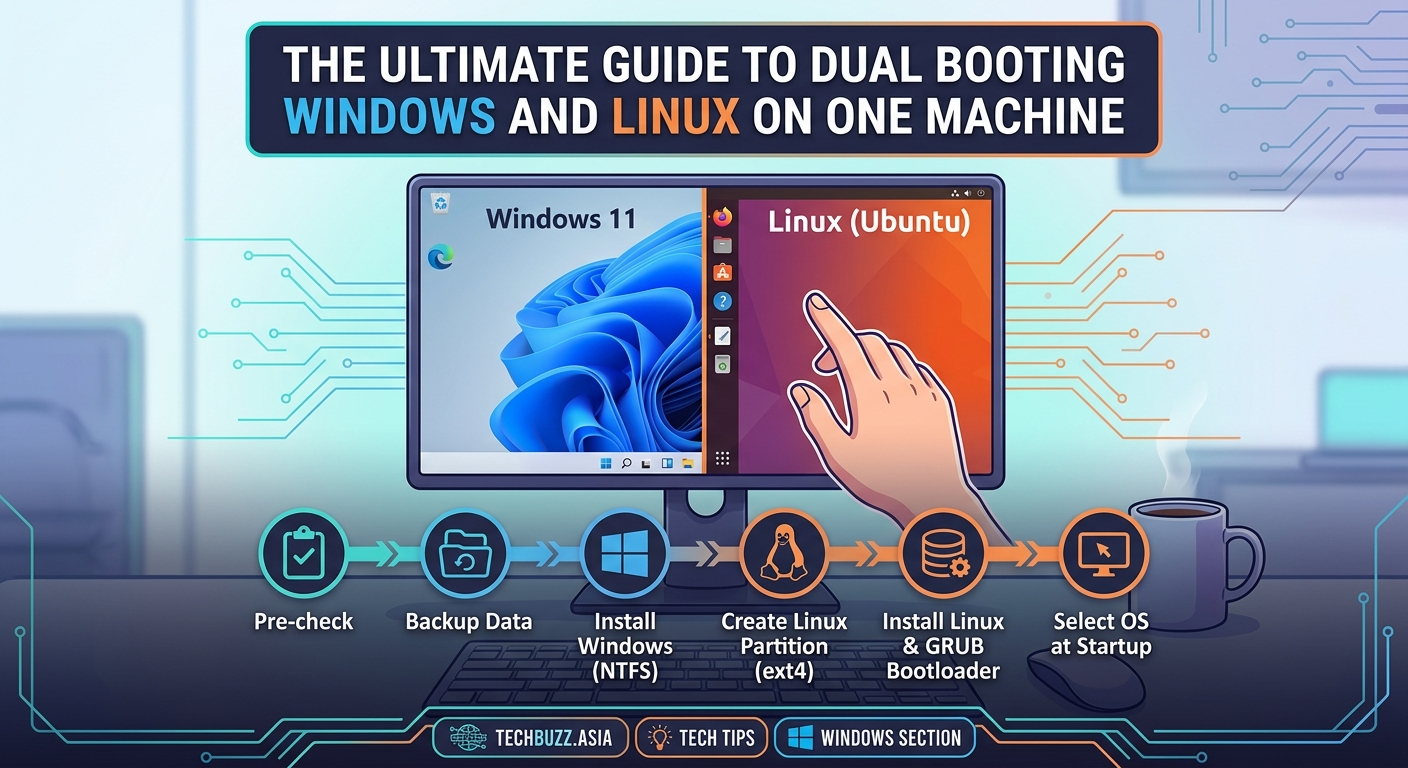
The Ultimate Guide to Dual Booting Windows and Linux on One Machine
Running both Windows and Linux on the same computer gives you the best of both worlds. You can game and use professional software on Windows, then switch to Linux for development work or privacy-focused browsing. Setting up a dual boot system might sound intimidating, but the process is straightforward when you follow the right steps.
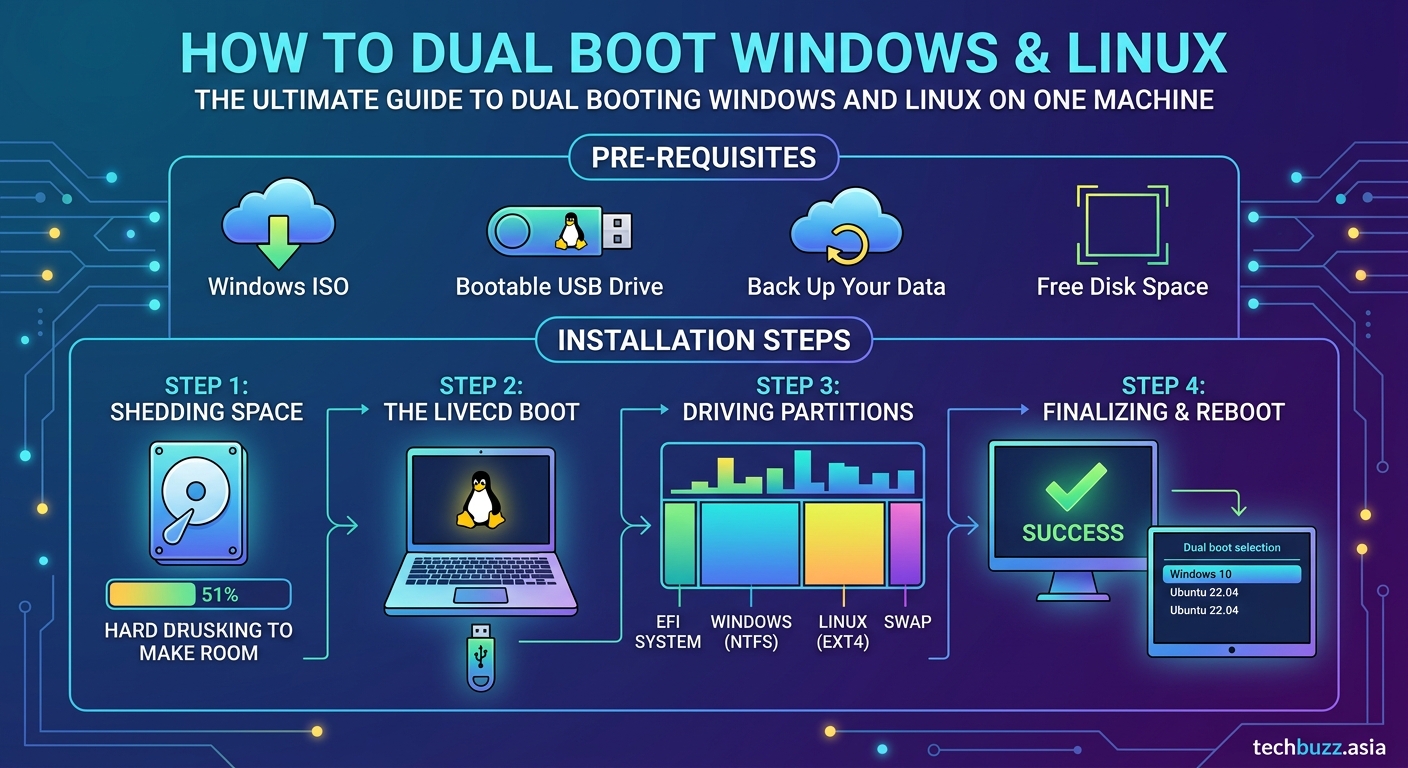
Dual booting lets you run Windows and Linux on one machine by creating separate disk partitions for each operating system. You’ll need at least 50GB of free space, a USB drive for the Linux installer, and about an hour to complete the setup. The process involves backing up your data, shrinking your Windows partition, installing Linux alongside Windows, and configuring a boot menu that lets you choose which system to load.
Before You Start: What You’ll Need
Setting up a dual boot configuration requires some preparation. You can’t just install Linux on top of Windows and hope for the best.
First, check your available disk space. You need at least 50GB free, though 100GB or more is better if you plan to use both systems regularly. Linux itself runs on 20GB, but you’ll want room for applications and files.
Second, grab a USB flash drive with at least 8GB capacity. This will become your Linux installation media. The process will erase everything on the drive, so back up any files first.
Third, decide which Linux distribution you want. Ubuntu is the most beginner-friendly option and has excellent hardware support. Linux Mint offers a more familiar interface for Windows users. Pop!_OS works great on newer hardware and gaming setups.
- At least 50GB of free disk space
- One USB drive (8GB or larger)
- Your Windows license key (just in case)
- An external drive for backups
- Two hours of uninterrupted time
Understanding the Risks and Rewards
Dual booting is generally safe, but you’re modifying how your computer starts up. Things can go wrong.
The biggest risk is data loss. If you make a mistake during partitioning, you could erase your Windows installation. That’s why backing up is non-negotiable. Copy your important files to an external drive or cloud storage before you begin.
Some computers have issues with UEFI and Secure Boot. These security features can prevent Linux from installing properly. You might need to adjust settings in your BIOS, which varies by manufacturer.
On the reward side, you’ll have access to both operating systems without virtual machines or cloud services. You can restart and switch between them in under a minute. Linux runs faster than Windows on older hardware, so your computer might feel snappier when you boot into it.
Always back up your entire system before attempting to dual boot. Even experienced users make mistakes, and having a backup means you can recover without losing years of files and settings.
Step 1: Back Up Your Windows System
Don’t skip this step. Seriously.
Windows has a built-in backup tool that creates a system image. Open the Control Panel, search for “Backup and Restore,” and select “Create a system image.” Choose an external hard drive as the destination.
This process takes 30 minutes to several hours depending on how much data you have. Let it finish completely.
Also back up your personal files separately. Copy your Documents, Pictures, and Desktop folders to a different location. Cloud storage works fine if you have enough space.
Test your backup by opening a few files from the external drive. Make sure they’re readable and complete.
Step 2: Create Free Space for Linux
You need to shrink your Windows partition to make room for Linux. Windows includes a tool for this that works without data loss in most cases.
- Press Windows + X and select “Disk Management”
- Right-click your C: drive and choose “Shrink Volume”
- Enter the amount of space to shrink in megabytes (50000 for 50GB)
- Click “Shrink” and wait for the process to complete
The unallocated space will appear as a black bar in the Disk Management window. Don’t create a new partition here. Leave it unallocated. The Linux installer will handle partitioning during installation.
If the shrink operation fails or offers less space than you expected, you might need to defragment your drive first. Some system files sit at the end of the partition and prevent shrinking. Running the built-in defragmenter usually fixes this, though similar to how speeding up your Windows 11 PC requires some preparation work.
Step 3: Download Your Linux Distribution
Head to the official website of your chosen distribution. For Ubuntu, that’s ubuntu.com. For Linux Mint, it’s linuxmint.com.
Download the ISO file. This is a disk image that contains the entire operating system. The file will be 2-4GB depending on which version you choose.
Choose the 64-bit version unless you have a very old computer. Most modern PCs are 64-bit.
While the ISO downloads, grab a tool called Rufus (for Windows) or balenaEtcher. These programs write the ISO to your USB drive and make it bootable.
Step 4: Create a Bootable USB Drive
Insert your USB drive. Remember, this process erases everything on it.
Open Rufus or balenaEtcher. Select your downloaded ISO file and your USB drive. The default settings usually work fine, but make sure the partition scheme matches your system (GPT for UEFI, MBR for Legacy BIOS).
Click “Start” or “Flash” and wait. This takes 5-10 minutes.
When it finishes, don’t remove the USB drive yet. You’ll need it for the next step.
Step 5: Adjust Your BIOS Settings
Restart your computer and enter the BIOS. The key varies by manufacturer:
- Dell: F2 or F12
- HP: F10 or Esc
- Lenovo: F1 or F2
- ASUS: F2 or Delete
- Acer: F2 or Delete
The key appears on screen during startup, usually in the bottom corner.
Once inside the BIOS, look for these settings:
- Secure Boot: Disable it (some Linux distributions work with it enabled, but disabling prevents issues)
- Boot Order: Move USB to the top of the list
- Fast Boot: Disable it if present
Save your changes and exit. Your computer will restart.
Step 6: Install Linux Alongside Windows
Your computer should boot from the USB drive. You’ll see the Linux installer menu.
Choose “Install” or “Try Ubuntu” (or whatever your distribution calls it). The live environment lets you test Linux without installing anything.
When you’re ready to install, double-click the installer icon on the desktop.
Follow the prompts:
- Select your language and keyboard layout
- Choose “Install alongside Windows” when asked about installation type
- The installer will show you how it plans to partition your drive
- Review the partition layout carefully before confirming
The installer creates several partitions automatically:
| Partition Type | Size | Purpose |
|---|---|---|
| Root (/) | Most of your allocated space | System files and applications |
| Swap | Equal to your RAM or 4GB | Virtual memory |
| EFI | 512MB | Boot files (if using UEFI) |
| Home (optional) | Variable | Personal files |
Let the installer handle partitioning unless you have specific requirements. Manual partitioning is advanced and easy to mess up.
Create your user account when prompted. Choose a strong password. You’ll need this password frequently for system updates and installing software.
The installation takes 15-30 minutes. Don’t turn off your computer or remove the USB drive during this time.
Step 7: Configure Your Boot Menu
When installation finishes, restart your computer and remove the USB drive.
You should see a boot menu (called GRUB) listing both Windows and Linux. Use the arrow keys to select which operating system to load.
GRUB waits 10 seconds by default before booting the first option. You can change this timeout or the default OS later if needed.
If you don’t see the boot menu and Windows loads automatically, you might need to adjust your BIOS boot order. Enter the BIOS again and make sure the Linux bootloader (usually listed as “ubuntu” or “GRUB”) appears before Windows Boot Manager.
Common Problems and How to Fix Them
Even with careful preparation, you might run into issues. Here are the most common problems and their solutions.
Problem: GRUB doesn’t appear, Windows boots automatically
Your BIOS is set to boot Windows first. Enter BIOS, find the boot order settings, and move the Linux entry above Windows Boot Manager.
Problem: “No operating system found” error
The bootloader installation failed. Boot from your Linux USB drive again, choose “Try Linux,” open a terminal, and reinstall GRUB. This requires command-line knowledge, so search for specific instructions for your distribution.
Problem: Windows time is wrong after using Linux
Linux and Windows handle system time differently. Linux uses UTC, Windows uses local time. Fix this by making Linux use local time. Open a terminal in Linux and run: timedatectl set-local-rtc 1 --adjust-system-clock
Problem: Can’t access Windows files from Linux
Windows might be in hibernation or fast startup mode. Boot into Windows, open Command Prompt as administrator, and run: powercfg /h off. This disables hibernation and lets Linux mount your Windows partition.
Switching Between Operating Systems
Restarting is the only way to switch between Windows and Linux in a dual boot setup.
Save your work in the current OS, click restart, and select the other system from the GRUB menu when your computer reboots. The whole process takes about 60 seconds on modern hardware with an SSD.
You can access files from both operating systems if you create a shared data partition formatted as NTFS or exFAT. Linux can read and write to NTFS partitions, and Windows can access exFAT drives.
Keep your operating systems on separate partitions. Don’t try to access Linux system files from Windows or vice versa. Stick to shared data folders for cross-platform file access.
Maintaining Your Dual Boot System
Both operating systems need regular updates. Windows Update handles the Windows side automatically.
Linux updates depend on your distribution. Ubuntu and Mint notify you when updates are available. Run them regularly to keep your system secure.
Each OS has its own set of installed programs. Installing software in Windows doesn’t make it available in Linux. You’ll need to install applications separately in each environment.
Disk space management becomes more important with dual booting. Monitor how much space each partition has left. If one OS runs low on space, you can resize partitions using tools like GParted, though this carries some risk.
Removing the Dual Boot Setup Later
If you decide dual booting isn’t for you, removal is straightforward.
To remove Linux and keep Windows, boot into Windows, open Disk Management, delete the Linux partitions, and extend your Windows partition into the freed space. Then fix the Windows bootloader using a Windows installation USB and the command: bootrec /fixmbr
To remove Windows and keep only Linux, boot into Linux, delete the Windows partitions using GParted, extend your Linux partition, and reinstall GRUB.
Always back up important files before removing either operating system.
Making the Most of Both Systems
Having both operating systems available opens up new possibilities.
Use Windows for gaming, Adobe Creative Suite, Microsoft Office, and any Windows-only professional software you need for work or school. The gaming performance is better, and you won’t deal with compatibility issues.
Use Linux for programming, web development, server management, and privacy-focused tasks. Many development tools run better on Linux. The system also boots faster and uses fewer resources than Windows, which matters on older hardware or laptops where battery life counts.
You might find yourself using one OS 90% of the time. That’s fine. The option to switch gives you flexibility when you need it, similar to how having the right tools ready makes your workflow smoother.
Your Computer, Your Choice
Dual booting puts you in control of your computing environment. You’re not locked into one ecosystem or forced to choose between Windows compatibility and Linux freedom.
The setup process takes a couple of hours, but you’ll have a flexible system that serves multiple purposes. Back up your data, follow the steps carefully, and don’t rush through the partitioning stage. Most dual boot problems come from skipping preparation or clicking through installation prompts too fast.
Start with Ubuntu or Linux Mint if this is your first time installing Linux. Both distributions have excellent documentation and active communities ready to help when you get stuck. Once you’re comfortable with the basics, you can experiment with other distributions or customize your setup further.
Your dual boot system is ready. Pick which OS fits your current task and get to work.


Post Comment