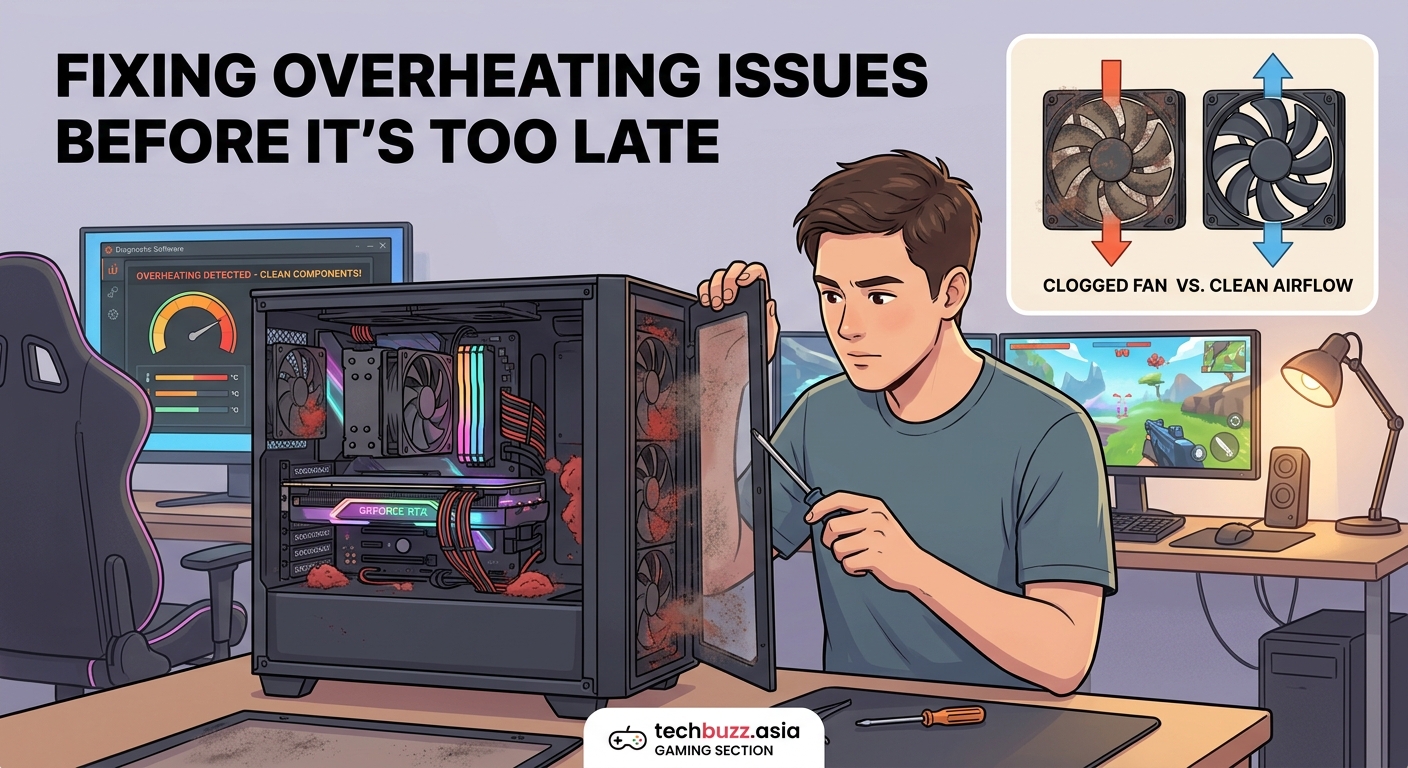
Why Your Gaming PC is Overheating and How to Fix It Before It’s Too Late

Your GPU just hit 95°C during a raid, your CPU is thermal throttling mid-match, and your case feels like a space heater. Sound familiar?
Gaming PC overheating isn’t just annoying. It kills performance, crashes games, and can permanently damage expensive components. Most gamers ignore the warning signs until something fails.
The good news? Most overheating problems stem from fixable issues you can solve yourself in under an hour.
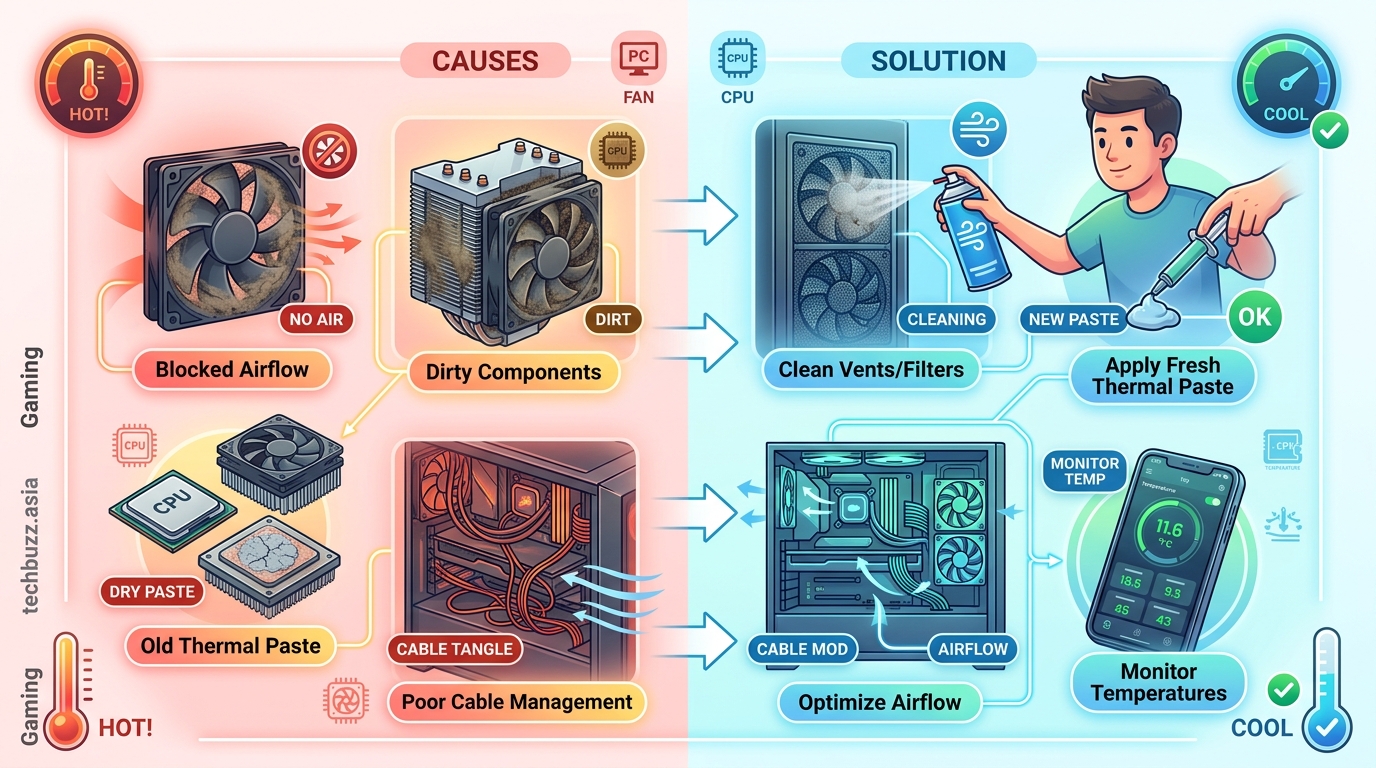
Gaming PC overheating usually results from dust buildup, poor airflow, dried thermal paste, or aggressive overclocking. Regular cleaning, proper case ventilation, fresh thermal compound, and monitoring software can prevent most heat issues. Ignoring high temperatures leads to throttling, crashes, and permanent hardware damage. Simple maintenance protects your investment and maintains peak performance.
How to Tell If Your Gaming PC Is Actually Overheating
Temperature numbers mean nothing without context.
Your CPU running at 75°C during gaming might be perfectly normal. The same chip hitting 95°C under similar load indicates a problem.
Here’s what actually matters:
- Sudden frame drops during intense scenes
- Games crashing after 30-60 minutes of play
- Your PC shutting down without warning
- Fan noise ramping up to jet engine levels
- Case exterior feeling uncomfortably hot to touch
Download monitoring software like HWiNFO64 or MSI Afterburner. Run your favorite demanding game for 20 minutes. Check the peak temperatures.
Normal gaming temperatures:
– CPU: 60-80°C
– GPU: 65-85°C
– Motherboard VRM: 50-70°C
Danger zone temperatures:
– CPU: 90°C+
– GPU: 90°C+
– Motherboard VRM: 80°C+
If you’re consistently hitting those danger numbers, you’ve got a problem that needs fixing now.
The Real Culprits Behind Gaming PC Overheating
Dust Has Turned Your Fans Into Decorations
Dust is the silent killer of gaming PCs.
A thin layer of dust on your heatsink fins reduces cooling efficiency by 20-30%. After six months without cleaning, your fans might spin at full speed while barely moving air.
Check your GPU fans right now. Pull off the side panel and look at the heatsink underneath. If you see a felt-like layer of dust, that’s your problem.
Dust accumulates fastest in:
– GPU heatsink fins
– CPU cooler radiators
– Case intake filters
– Power supply intakes
– Motherboard VRM heatsinks
Your Case Airflow Is Fighting Against Itself
Many gaming cases look cool but breathe terribly.
Solid front panels with tiny side vents choke airflow. RGB fans installed backwards create pressure conflicts. Cable management nightmares block air paths.
Good airflow follows a simple pattern: cool air enters the front and bottom, warm air exits the top and rear. Anything disrupting this path creates hot spots.
Common airflow mistakes:
| Mistake | Result | Fix |
|---|---|---|
| All fans set to exhaust | Negative pressure, dust everywhere | Balance intake and exhaust |
| Solid front panel | Suffocated intake fans | Remove panel or add ventilation |
| Cables blocking airflow | Hot pockets near GPU | Route cables behind motherboard tray |
| Bottom-mounted PSU facing up | PSU fights GPU for air | Flip PSU to draw air from bottom |
| Too many exhaust fans | Starved components | Add more intake fans |
Thermal Paste Has Turned Into Crusty Cement
Thermal paste doesn’t last forever.
After 2-3 years, the compound between your CPU and cooler dries out. Heat transfer drops. Temperatures climb 10-20°C higher than when your system was new.
You’ll notice this gradually. Games that used to run cool now push your CPU into the 80s. Benchmark scores drop slightly. Fan curves get more aggressive.
Replacing thermal paste takes 15 minutes and costs $10. The temperature improvement often feels like getting a new cooler.
Your Cooler Was Never Adequate to Begin With
Budget coolers paired with high-end CPUs create inevitable problems.
A stock Intel cooler can’t handle a Core i7 under sustained gaming loads. A $30 tower cooler struggles with a Ryzen 9 running all-core workloads.
Match your cooler to your CPU’s actual power draw, not just its TDP rating. Modern CPUs pull far more power than their rated TDP when boosting.
Real-world power consumption:
– Intel i5-13600K: 180W+ under load
– AMD Ryzen 7 7800X3D: 120W under load
– Intel i9-13900K: 250W+ under load
– AMD Ryzen 9 7950X: 200W+ under load
If your cooler is rated for 150W and your CPU pulls 200W, you’re always fighting a losing battle.
Overclocking Pushed Things Too Far
Free performance sounds great until your system becomes unstable.
Aggressive GPU overclocks add 50-100W of heat. CPU overclocks can push power consumption up 40%. Your cooling solution that worked fine at stock settings now can’t keep up.
Voltage increases hurt most. Adding 0.1V to your CPU can increase heat output by 30% or more. The performance gain rarely justifies the thermal cost.
“Most modern CPUs and GPUs already boost themselves to near-optimal frequencies. Manual overclocking typically adds 3-8% performance while increasing heat output by 20-40%. For gaming, the thermal trade-off usually isn’t worth it.” – Hardware testing engineer
Step-by-Step Fixes for Gaming PC Overheating
1. Clean Everything Properly
Turn off your PC and unplug it. Ground yourself by touching the case.
What you need:
– Compressed air can
– Microfiber cloths
– Isopropyl alcohol (90%+)
– Cotton swabs
Cleaning process:
- Remove both side panels
- Take your PC outside or to a well-ventilated area
- Use compressed air on all fans, holding them still to prevent overspin damage
- Blast dust from heatsink fins using short bursts
- Clean case filters with compressed air or wash with water and dry completely
- Wipe fan blades with microfiber cloth and isopropyl alcohol
- Use cotton swabs for tight spaces around motherboard components
Do this every 3-4 months if you have pets or carpeted floors. Every 6 months for cleaner environments.
2. Optimize Your Fan Configuration
More fans don’t automatically mean better cooling.
Balance matters. Aim for slightly positive pressure: more intake than exhaust. This keeps dust out while maintaining good airflow.
Ideal setup for most cases:
- Front: 2-3 intake fans (120mm or 140mm)
- Rear: 1 exhaust fan (120mm)
- Top: 1-2 exhaust fans (120mm or 140mm)
- Bottom: Optional intake under GPU (120mm)
Set intake fans to 60-70% speed at idle, ramping to 100% at 60°C. Set exhaust fans 10% lower than intake to maintain positive pressure.
Check fan direction. The side with support struts faces the direction air flows. Stickers face the intake side.
3. Replace Thermal Paste on CPU and GPU
CPU thermal paste replacement:
- Remove CPU cooler (unscrew in X pattern for even pressure release)
- Clean old paste from CPU and cooler with isopropyl alcohol
- Apply rice-grain sized amount to CPU center
- Reinstall cooler with even pressure
- Tighten screws in X pattern, quarter turns at a time
GPU thermal paste replacement:
GPU disassembly is trickier. You’ll void warranties on newer cards. Only attempt if you’re comfortable with electronics.
For older cards out of warranty, the process involves:
– Removing the cooler shroud
– Disconnecting fan headers
– Cleaning the GPU die and heatsink
– Applying fresh paste
– Reassembling carefully
Expect 5-15°C temperature drops from fresh thermal paste on components over two years old.
4. Improve Case Ventilation
Remove unnecessary drive cages blocking front intake. Many cases let you relocate or remove these completely.
Add mesh panels if your case has solid glass or metal fronts choking airflow. Some manufacturers sell ventilated replacement panels.
Elevate your case if it sits on carpet. Use a piece of wood, a monitor stand, or anything that creates 2-3 inches of clearance for bottom intake.
Cable management helps more than you think. Route all cables behind the motherboard tray. Use velcro straps to bundle them tightly. Clear paths for air to flow from front to back.
5. Adjust Power Settings and Fan Curves
Windows power plans can push unnecessary voltage to components.
Switch to Balanced power plan instead of High Performance. The performance difference in games is negligible, but heat output drops noticeably.
Create custom fan curves in your BIOS or with software like Fan Control. Don’t run fans at 100% constantly. It’s loud and wears bearings faster.
Recommended fan curve:
– 30°C: 30% speed
– 50°C: 50% speed
– 70°C: 75% speed
– 80°C: 100% speed
This keeps noise down during light tasks while ramping up when needed.
6. Upgrade Your Cooling Solution
Sometimes your cooler just isn’t enough.
Budget tower coolers like the Thermalright Peerless Assassin or DeepCool AK400 handle most CPUs for $35-45. They outperform many 240mm AIOs while costing less.
For high-end CPUs pulling 200W+, consider:
– Large dual-tower air coolers (Noctua NH-D15, be quiet! Dark Rock Pro 4)
– 280mm or 360mm AIO liquid coolers
– Custom water cooling loops (expensive but most effective)
GPU cooling upgrades are limited. Aftermarket GPU coolers exist but installation is complex. Better case airflow helps more.
If your GPU consistently overheats, consider:
– Replacing thermal paste and pads
– Adding case fans aimed at GPU intake
– Undervolting to reduce heat while maintaining performance
– Vertical GPU mounting for better airflow (if your case supports it properly)
7. Reduce Power Consumption Without Killing Performance
Undervolting is free performance per watt.
Modern CPUs and GPUs run higher voltages than necessary from the factory. Reducing voltage by 50-100mV typically maintains full performance while cutting heat by 10-20%.
CPU undervolting:
– Intel: Use Intel XTU or ThrottleStop
– AMD: Use Ryzen Master or BIOS settings
– Start with -50mV offset
– Test stability with Prime95 or Cinebench
– Increase offset in -25mV steps until unstable, then back off one step
GPU undervolting:
– Use MSI Afterburner curve editor
– Find your GPU’s boost clock
– Lower voltage at that frequency by 50-100mV
– Test stability in demanding games
– Adjust until stable
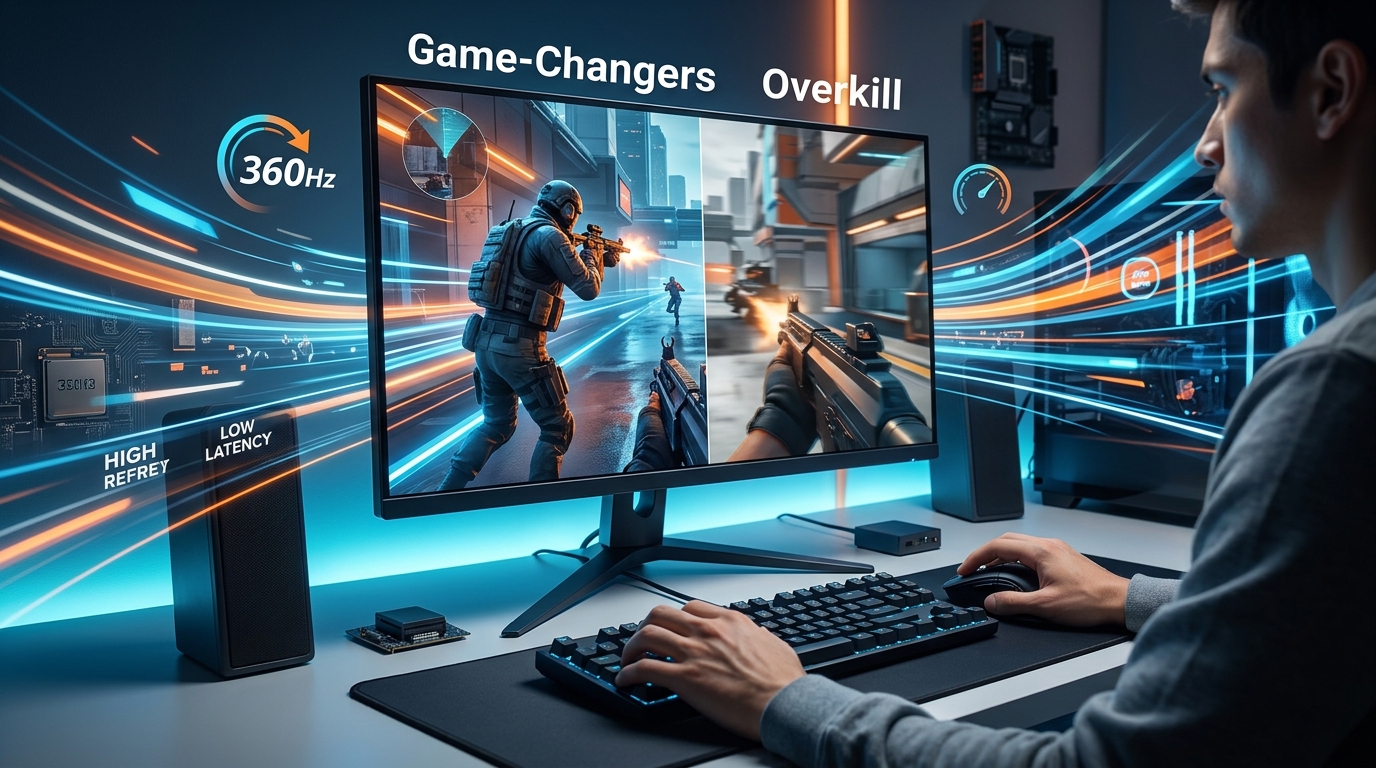
Frame rate limiters also help. Running games at 300 fps when your monitor only shows 144 fps wastes power and generates unnecessary heat. Cap frame rates to your monitor’s refresh rate plus 10-20%.
Similar to how smartphone batteries degrade faster from excessive heat and charge cycles, PC components suffer permanent damage from sustained high temperatures.
When Overheating Signals Bigger Problems
Sometimes high temperatures indicate failing hardware.
Thermal paste and cleaning help, but if temperatures stay dangerously high, check for:
Failing pump on AIO coolers: Listen for unusual noises or feel the tubes. Both should be warm during operation. One cold tube means the pump died.
Degraded thermal pads on GPU: Memory and VRM chips use thermal pads instead of paste. These compress and dry out over time. Replacement requires GPU disassembly.
Dying fans: Bearings wear out. Fans running slower than commanded or making grinding noises need replacement.
Mounting pressure issues: Cooler not making even contact with CPU. Check for:
– Loose mounting screws
– Bent mounting brackets
– Warped heatsink base
– Protective plastic left on cooler base (yes, people forget)
Power delivery problems: VRM overheating can indicate motherboard issues. This is serious. If VRM temps exceed 100°C consistently, your motherboard may be failing.
Just like router settings can dramatically affect performance, proper PC configuration makes the difference between smooth gaming and thermal throttling frustration.
Monitoring Software That Actually Helps
Free tools give you all the data you need:
HWiNFO64: Most comprehensive sensor monitoring. Shows everything from CPU package temps to individual core temperatures, VRM temps, and fan speeds.
MSI Afterburner: Best for GPU monitoring and custom fan curves. Works with all GPU brands despite the MSI name.
Core Temp: Lightweight CPU temperature monitoring with system tray display.
Fan Control: Open-source fan curve software that works with most motherboards. More flexible than manufacturer tools.
Set up on-screen displays during gaming. Afterburner can show real-time temps, clock speeds, and utilization. You’ll immediately see when thermal throttling starts.
Create temperature alerts. HWiNFO64 can trigger warnings when components exceed safe thresholds. Catching problems early prevents damage.
Log temperatures over time. Run monitoring during typical gaming sessions. Compare logs after making changes to verify improvements.
Maintenance Schedule to Prevent Future Overheating
Prevention beats emergency fixes.
Monthly:
– Check temperature monitoring logs
– Listen for unusual fan noises
– Verify all fans spinning properly
Every 3-6 months:
– Clean case filters
– Compressed air cleaning of internal components
– Check fan speeds match BIOS settings
Yearly:
– Replace CPU thermal paste
– Deep clean entire system
– Verify all case screws and cooler mounting tight
– Update fan curves if needed
Every 2-3 years:
– Replace GPU thermal paste (out of warranty cards)
– Consider cooler upgrade if running hot
– Replace case fans showing bearing wear
This schedule prevents 90% of thermal issues before they become problems.
Your Gaming PC Deserves Better Than Thermal Torture
Gaming PC overheating isn’t inevitable or acceptable.
Your hardware performs best when cool. Every degree above optimal temperatures reduces performance, increases fan noise, and shortens component lifespan.
The fixes outlined here cost little and take minimal time. Compressed air, fresh thermal paste, and proper fan configuration solve most problems immediately.
Start with cleaning. Check your temperatures. Adjust your fan curves. Most gaming rigs running hot just need basic maintenance they should have received months ago.
Your components will thank you with better performance, longer life, and quieter operation. Plus, you’ll actually enjoy gaming instead of worrying about the next thermal shutdown.

Post Comment