How to Master Your iPhone’s Hidden Camera Interface for Pro-Level Photos
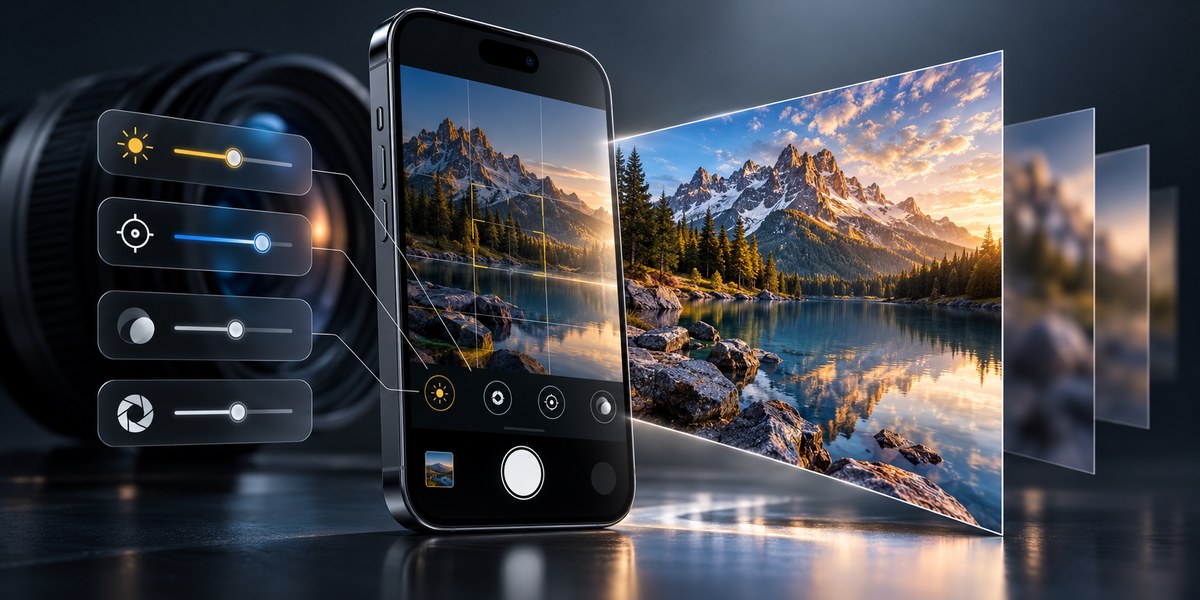
You already own one of the most capable cameras on the market. It fits in your pocket, connects to the internet, and takes calls. But if you are still tapping the shutter button without adjusting a single setting, you are leaving most of its potential on the table. The native camera app on your iPhone hides a surprising number of professional tools behind menus and long-presses. Once you know where to look, you can control focus, exposure, and even file format. Let’s walk through the controls that turn a snapshot into a photograph.
Mastering your iPhone’s hidden camera interface gives you control over focus, exposure, and file format without third-party apps. Features like AE/AF lock, exposure compensation, gridlines, and RAW capture are built in but buried. Learning these five settings will improve sharpness, lighting, and composition in any situation.
Lock Focus and Exposure with One Gesture
The most powerful hidden feature is the AE/AF lock. You have probably seen the yellow square jump around when you tap the screen. That square tells the camera what to focus on and how to set exposure. But if you hold your finger on the subject for a second, the square locks. A yellow lock icon appears at the top of the screen.
Once locked, you can recompose the shot without the camera refocusing or changing brightness. This is essential for portraits where your subject is off-center. It also helps in high-contrast scenes. Lock exposure on a bright area, then pan to a darker subject for a silhouette effect. Practice this on a moving child or a pet. The lock stays until you tap elsewhere or take the photo.
Adjust Exposure Without Leaving the Viewfinder
The sun is behind your friend, and their face looks like a shadow. You could tap to expose on their face, but then the sky blows out. The exposure compensation slider solves this. Swipe up or down on the sun icon that appears after you tap to focus. A small slider with a +/- symbol shows up.
Drag it down to darken the scene or up to brighten it. This works in every photo mode, including Portrait and Pano. For a backlit subject, push the slider up by one stop. Check the histogram in the corner if you have it enabled. The goal is to keep the highlights from clipping while lifting the shadows. This single slider gives you control that most people think requires a DSLR.
Turn On the Hidden Grid and Level
Composition rules matter even for casual shots. The grid overlay is buried in Settings > Camera > Grid. Enable it. You will see two horizontal and two vertical lines. Use the rule of thirds by placing your subject on an intersection. For landscapes, align the horizon with one of the horizontal lines.
There is also a level tool. When you enable the level in Settings > Camera, a dotted line appears on screen. It breaks when the phone tilts. Line it up for perfectly straight horizons. This is a lifesaver for architecture shots and group photos where crooked lines look sloppy.
Shoot in RAW for Editing Flexibility
By default, your iPhone saves photos as JPEG. JPEG files are compressed. Details in shadows and highlights get tossed out. You can change this in Settings > Camera > Formats. Turn on Apple’s Advanced Image Format (or, on newer models, switch to Ultra HDR). These formats retain more data.
Why does this matter? When you edit a RAW file later, you can recover a dark face or a blown-out sky. JPEG files fall apart if you push them too far. The trade-off is file size. A single RAW photo can be 25 MB or more. If you have limited storage, use RAW only for important shoots. You can always convert later. For everyday snaps, stick with JPEG. But for that golden hour portrait, flip the switch.
Use Portrait Mode’s Hidden Lighting Controls
Portrait mode is not just for blurring backgrounds. Tap the f-stop icon (the circle with lines) after selecting Portrait mode. You will see options for blur intensity: 2.0, 2.5, 5.0, and so on. Lower numbers mean more blur. But there is a catch. If you use too much blur, the edges of your subject can look soft or unnatural. For a natural look, stick to 4.0 or 5.0.
You can also adjust the lighting effect. Tap the light bulb icon. Options like Studio, Contour, and Backlit change how shadows fall on the face. Studio adds even light. Contour adds drama. Backlit creates a rim light effect. These are not gimmicks. They mimic studio lighting setups that used to require expensive gear.
Activate Pro-Level Video Features
The camera app hides video tools too. In video mode, tap the resolution icon (4K or HD). You can choose frame rates. 24 fps gives a cinematic look. 60 fps is smoother for action. 120 fps (on supported models) gives slow motion. The option for HDR video is also here. HDR video captures more color and contrast, but it uses more storage.
There is also a microphone direction setting. Tap the audio icon to switch between Standard, Front, Back, and Surround. If you are recording a lecture, set it to Front. If you are filming a band, Surround picks up the room. This hidden setting improves audio quality dramatically without an external mic.
Customize the Camera Interface Itself
You can rearrange the tools at the bottom of the screen. In Settings > Camera > Customize Controls, you can add or remove icons. Drag the ones you use most to the front. I keep Timer, Aspect Ratio, and Flash visible. I hide HDR and Live Photo because I rarely use them. This declutters the viewfinder and makes the hidden features easier to reach.
Common Mistakes and How to Fix Them
| Mistake | What Happens | Fix |
|---|---|---|
| Tapping to focus but not locking | Camera refocuses when you recompose | Use AE/AF lock (hold finger on subject) |
| Leaving exposure on auto | Faces are too dark or sky is blown out | Use exposure compensation slider |
| Ignoring the grid | Crooked horizons and off-center subjects | Enable grid and level in settings |
| Shooting only JPEG | Lost details in shadows and highlights | Switch to RAW or Ultra HDR for important shots |
| Using maximum blur in Portrait mode | Soft edges on subject | Use 4.0 or 5.0 blur for natural results |
A Practical Workflow for Better Photos
Here is a step-by-step process that puts all these hidden features to work.
- Open the camera app. Swipe to Photo mode.
- Tap and hold on your subject until the lock icon appears.
- Swipe up or down on the sun icon to adjust brightness.
- Check the grid. Move your subject to a third intersection.
- If shooting a person, switch to Portrait mode and set blur to 4.0.
- Tap the shutter. Review the histogram if you have it on.
This takes about five seconds once you are used to it. The difference in image quality is immediate.
“The best camera is the one you have with you. But the best photo comes from knowing how to use it.” – A photographer friend who shoots weddings with an iPhone.
What About the iPhone 16 and Beyond?
Apple keeps adding camera features with each iOS update. In 2026, the latest models include a dedicated macro mode and an AI-assisted exposure lock that predicts moving subjects. The same hidden interface applies. The menus are in the same places. The lock gesture works the same. Learning these basics now means you will be ready for whatever Apple adds next.
If you want to keep your phone running smoothly while shooting lots of photos, check out our guide on how to maximize battery life on your iPhone in 2026. A dead battery is the fastest way to miss a great shot.
Beyond the Default Camera App
The native app is powerful, but it is not the only option. Third-party apps give you manual focus peaking, zebra stripes for exposure, and custom white balance presets. Apps like those reviewed in the hidden features in popular apps that most users never discover can extend your control even further. Start with the built-in tools. When you hit their limits, explore the app store.
Your Next Photo Will Be Better
You do not need a mirrorless camera to take professional-looking photos. The tools are already in your pocket. Lock the focus. Adjust the exposure. Use the grid. Shoot in RAW when it matters. These five habits will lift your photography more than any new lens or filter. The next time you pull out your phone for a sunset or a family gathering, take the extra two seconds to set up the shot. The result will speak for itself.


Post Comment