5 Overlooked macOS Features That Will Boost Your Productivity
You probably think you know macOS inside and out. You use the Dock, you open apps from the Launchpad, and you close windows with the red button. But there is a whole layer of built-in power hiding just a click or a keyboard shortcut away. Apple packs so many features into every macOS release that even seasoned users miss several of them. Some of these tools can shave hours off your week once you get comfortable with them. Let’s look at five overlooked macOS features that can genuinely boost your productivity.
Most people tap only half of what macOS can do. This article reveals five underused tools: Quick Actions for batch file edits, Hot Corners for instant workspace control, Text Replacements for typing shortcuts, the hidden Preview markup bar, and Focus Filters in macOS Sequoia. Each one eliminates steps and helps you stay in the flow. No app store purchases needed.
Quick Actions: Right-Click File Magic
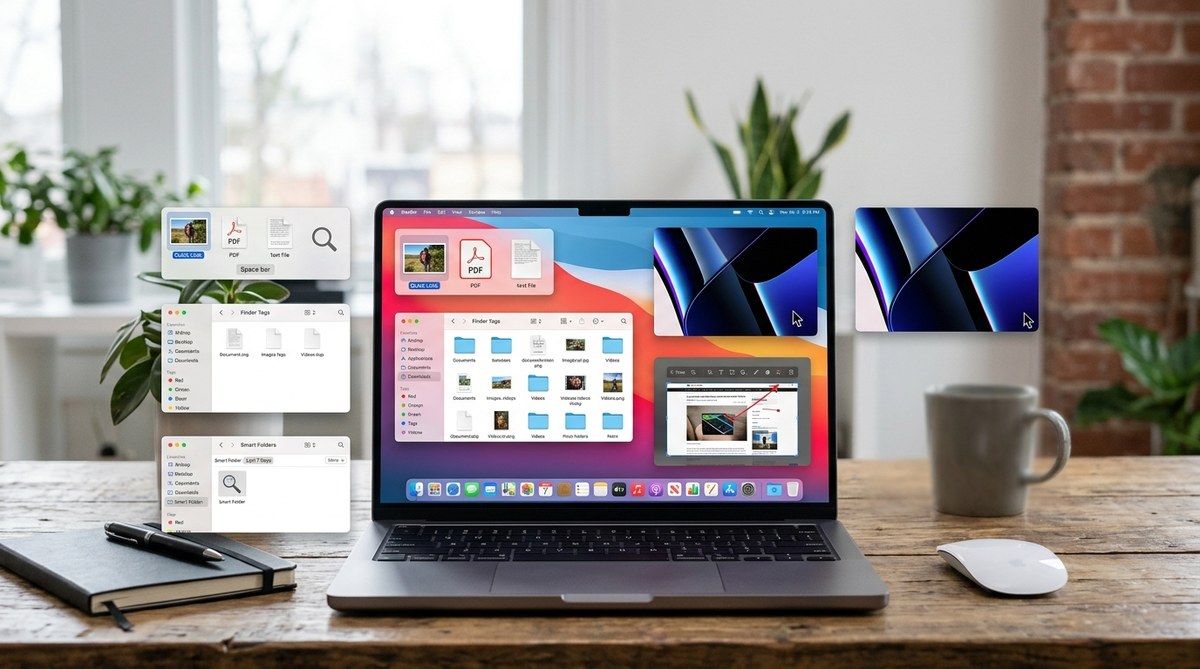
Right-click a file in the Finder and you see a short menu. Have you ever noticed the submenu labeled “Quick Actions”? It’s easy to overlook because it blends in with other options. But inside that menu lives a set of batch tools that can rotate an image, convert a PDF, or even create a PDF from a selection of images without opening a single app.
For example, say you just snapped a batch of photos from a team outing. Instead of opening Preview and rotating each one, you can select all the images in the Finder, right-click, and choose “Rotate Right.” macOS handles them all in one go. The same trick works for converting images to different formats. Want to turn a .heic into .jpg? Right-click, choose Quick Actions > Convert Image, and pick the format you want.
Here is a numbered list that shows the steps to set up custom Quick Actions using Automator (which is another overlooked macOS feature):
- Open Automator from your Applications folder.
- Choose “New Document” and select “Quick Action.”
- Set “Workflow receives current” to “image files” (or whatever type you need).
- Drag in a “Scale Images” action from the library.
- Choose the width you want (like 1920 pixels).
- Save the workflow with a name like “Resize to Web.”
Now every time you right-click an image file, you will see that Quick Action appear. One click and your images are resized. No need to open Photoshop or even Preview. That saves minutes per batch.
“Automator workflows are the Swiss Army knife of macOS. Once you build one custom Quick Action, you cannot stop thinking of new ones.” — John Voorhees, MacStories
Hot Corners: Skip the Menu Bar
Mouse movement is wasted energy. Every time you drag your cursor to the top menu to start a screensaver, open Mission Control, or lock the screen, you lose momentum. Hot Corners solve this by assigning a system action to each of the four corners of your display.
Set them up in System Settings > Desktop & Dock > Hot Corners. You can trigger Mission Control, Application Windows, Launchpad, Notification Center, Quick Note, Lock Screen, or Sleep Display with a simple flick. For example, I set my bottom-left corner to “Lock Screen.” When I step away from my desk, I just throw the cursor to that corner and the screen locks instantly. No keyboard shortcut to memorize, no extra click.
The mistake most people make is enabling too many corners at once. You may accidentally trigger actions when you do not intend to. A smart approach is to use only two or three corners for actions you perform often, and leave one corner disabled as a buffer.
| Corner Action | Best Use Case | Common Mistake |
|---|---|---|
| Lock Screen | Instant security when walking away | Setting it to a corner you hit often (like top-right) |
| Mission Control | Seeing all open windows at a glance | Overlapping with Ctrl-Up Arrow shortcut |
| Quick Note | Jotting down ideas without opening an app | Accidentally triggering when dragging files near that corner |
| Put Display to Sleep | Cutting energy during a short break | Forgetting to disable the screensaver time-out |
Use the table above to pick your corners wisely. The goal is to make your mouse do double duty without requiring extra clicks.
Text Replacements: Type Smarter, Not Faster
Everyone knows about autocorrect for misspelled words. But macOS also includes a text replacement engine that can automatically expand short abbreviations into full phrases. This feature is buried in System Settings > Keyboard > Text Replacements.
Imagine typing “addr” and having it expand to your full mailing address. Or typing “sig” and seeing your email signature appear. Students can use it to insert common formulas or citations. If you often write “Thank you for your time and consideration,” set a snippet like “tytc” to expand into that whole sentence.
Here is a bulleted list of practical text replacements you can set up today:
- Email templates: “em1” expands to a standard client reply.
- Contact info: “cell” becomes your phone number.
- Common URLs: “cals” becomes your company’s shared calendar link.
- Code snippets: “4j” expands to a foreach loop in JavaScript.
- Reminder notes: “@today” becomes the current date plus a note format.
The best part is that text replacements sync across all your Apple devices via iCloud. So the same snippet works on your Mac, iPad, and iPhone. That is a massive timesaver for anyone who types on multiple devices.
The Hidden Preview Markup Bar
Preview is the default image and PDF viewer on macOS. Most people open a file, look at it, and close it. But Preview has a set of markup tools that rival simple editors. They live behind a small icon that looks like a pencil tip inside a circle, usually found near the search bar.
Click that icon and a toolbar appears with tools for text selection, shapes, signatures, text boxes, and even color adjustments. You can fill out a PDF form without buying Adobe Acrobat. Sign a contract by dragging in a previously saved signature (you can capture it using your trackpad or camera). Highlight text, add notes, even redact information.
The trick is that many users do not realize they can also combine PDFs in Preview. Open a PDF, then drag additional PDFs into the sidebar, and rearrange pages as needed. It is a free PDF merger that lives right inside the app. For students collecting readings or professionals assembling reports, this eliminates a whole category of third-party software.
Focus Filters in macOS Sequoia
Apple introduced Focus modes a few years ago, but in macOS Sequoia (released in 2025), the system gained Focus Filters. These filters let you set app-specific behaviors based on which Focus is active. For instance, when you enable “Work” Focus, your calendar app can automatically switch to show only your work calendar, hiding personal events. Messages can filter out conversations from anyone not in your approved work list.
The overlooked part is that you can create custom filters for apps that support the API. Popular productivity apps like Things, OmniFocus, and Slack have adopted this. Even Apple’s own Mail app can dim old emails or only show flagged messages when you are in a focused state.
To set up a Focus Filter, go to System Settings > Focus, select a Focus, and scroll to “Focus Filters.” From there you choose an app and configure the filter. It takes less than a minute but keeps distractions at bay.
A common productivity mistake is thinking that Focus only silences notifications. The real power is in how it changes the behavior of the apps you use every day. When your calendar, mail, and to-do list all align with your current task, you spend less time manually switching contexts.
Bringing It All Together
These five features are hidden in plain sight because they do not demand attention. Quick Actions, Hot Corners, Text Replacements, Preview’s markup bar, and Focus Filters each solve a small annoyance. Add them up, and they eliminate dozens of tiny steps across a day. That is the type of productivity gain that feels effortless once you get used to it.
Try picking one feature from this list and using it for three days. Maybe start with Hot Corners. Or set up three text replacements you know you will use every day. After that, move on to the next one. Before long you will wonder how you ever worked without them. And the best part? You did not have to install a single extra app.
If you want to explore even more hidden tools, check out our guide on 7 Mac Keyboard Shortcuts That Will Transform Your Productivity for a deeper look at keystrokes that save serious time. For a broader perspective on Apple’s ecosystem, read about The Complete Guide to Apple’s Continuity Features Across All Your Devices. And if your Mac feels sluggish, our article on Why Your Mac Runs Slower Over Time and How to Fix It might help.
Take what you learned here and make your Mac work for you, not the other way around.


Post Comment